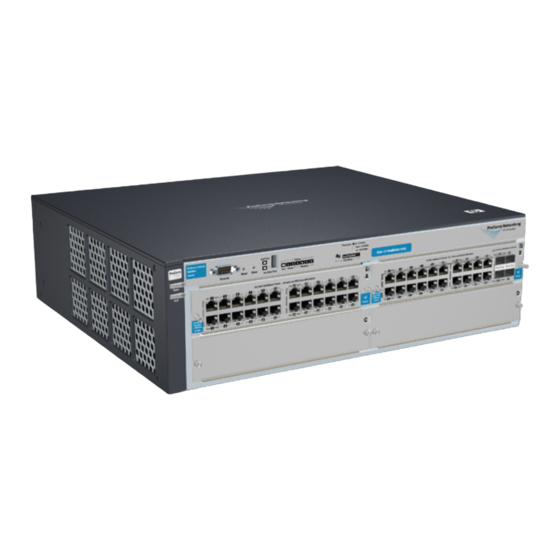
HP ProCurve 4202vl-48G Panduan Instalasi - Halaman 8
Jelajahi secara online atau unduh pdf Panduan Instalasi untuk Beralih HP ProCurve 4202vl-48G. HP ProCurve 4202vl-48G 13 halaman.

9/18/2020
Item Number
1
4. Install the other number 12-24 screw into the upper hole in each bracket. Tighten these screws.
Figure 10: Installing the final rack mounting screw
Item Number
1
NOTE:
If user are installing the switch in an equipment cabinet, in place of the 12-24 screws supplied with the switch, use the clips
and screws that came withthe cabinet. Plan which four holes user will be using in the cabinet and installall four clips and partially
install the two bottom screws, as described in step2 before proceeding to step 3.
top
Horizontal surface mounting
Place the switch on a table or other horizontal surface. Use a sturdy surface in an uncluttered area. User may want to secure the
networking cables and switch power cord to the table legs or other part of the surface structure to help prevent people from tripping
over the cords.
NOTE:
Ensure the air flow is not restricted around the sides and back of the switch.
top
Wall Mounting
Description
Lower the switch withmounting brackets onto the partially installed screws,then tighten these screws
Description
Install and tighten the other 12-24 screws
HPE 4200 vl Switch Series - Installation
8/12
