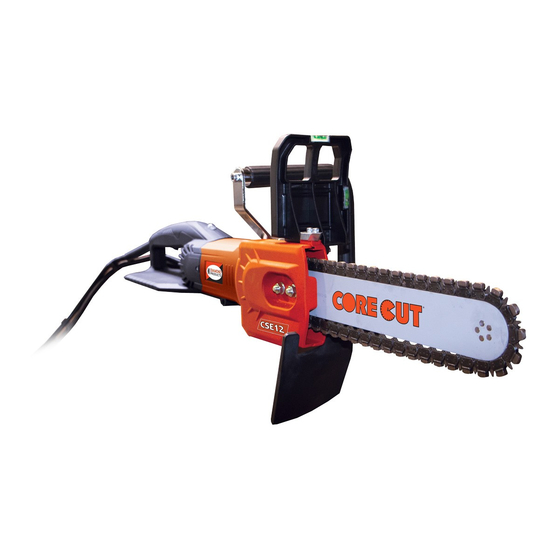
Diamond Products CSE12 Panduan Operator - Halaman 14
Jelajahi secara online atau unduh pdf Panduan Operator untuk Gergaji Diamond Products CSE12. Diamond Products CSE12 20 halaman. Electric chainsaw
Juga untuk Diamond Products CSE12: Daftar Suku Cadang & Panduan Operator (20 halaman)

Wearing Parts
1.
Diamond Chain
The diamond segments will wear away with
normal use. In addition, the chain itself will
stretch due to accumulated wear of each joint
of the chain. Inspect each segment of the
chain before each use, noting any segment
damage or undue wear.
2.
Guide Bar
The guide bar rails will wear from abrasion with
the chain. If the saw tends to cut to one side,
the rails have worn unevenly. The guide bar
rails can be re-squared by carefully sanding on
a bench mounted belt sander. If the chain's
drive links are touching the bottom of the guide
bar grooves, the guide bar must be replaced.
Running a good chain on worn out guide bar
will prematurely wear out its drive links and the
motor will overload easily from the excessive
friction.
Extra life can be had from the guide bar by
flipping it over to the other side, since the
bottom wears faster than the top. It is a good
practice to flip the guide bar each time you
replace a chain. Generally, the guide bar will
need to be replaced after about 3 chains.
3.
Drive Sprocket
Running a good chain on a worn-out sprocket
will prematurely wear out its drive links. After
about 3 chains, the drive sprocket will wear
away and need replacement.
Replacing the Drive Sprocket
To change the drive sprocket, first remove the
side cover, chain, and guide bar. Using circlip
pliers, remove the circlip, then the washer
which retain the drive sprocket, then lift the
sprocket off the splines. Replacement is the
reverse of removal.
14
EQUIPMENT DESIGNATION OPERATOR'S MANUAL
Replacing Carbon Brushes
The carbon brushes are a normal wearing part
and must be replaced when they reach their
wear limit. This machine is equipped with auto-
stop carbon brush holders. If the machine
comes to a stop unexpectedly, the brushes
should be checked. The auto-stop brush
design protects the motor by stopping the
machine before the carbon brushes are
completely worn out.
Caution: Always replace the brushes as a pair.
1.
Remove the screw and remove the
brush cover.
2.
Using pliers rotate the brush spring out
of the way and slide the old carbon brush out
of the brush holder.
3.
Unscrew the screw to remove the brush
lead. The old carbon brush may now be lifted
away.
4.
Install a new brush. Installation is the
reverse of removal.
5.
Replace the brush cover.
