EasyPro Eco-Clear EC2600U Petunjuk Pengoperasian, Keselamatan, Garansi - Halaman 4
Jelajahi secara online atau unduh pdf Petunjuk Pengoperasian, Keselamatan, Garansi untuk Sistem Penyaringan Air EasyPro Eco-Clear EC2600U. EasyPro Eco-Clear EC2600U 12 halaman. Eco-clear pressurized filters
Juga untuk EasyPro Eco-Clear EC2600U: Petunjuk Pengoperasian, Keselamatan, Garansi (8 halaman)

Backwashing, Cleaning and Replacing the Filter Pads.
When installed on a dirty pond, the foam pads will need to be cleaned more frequently
until the pond clears. As pond conditions stabilize, the time between cleanings will
increase. Pads are meant to be slightly dirty, there is no need to overclean them. The
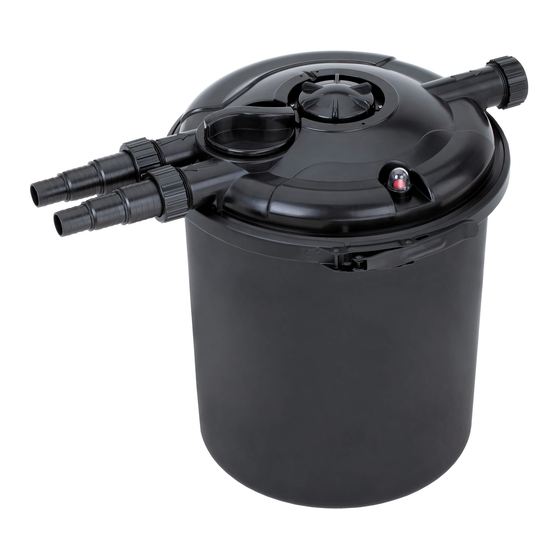
EC2600/2600U/3900/3900U units include a cleaning indicator that pops up when pads
require backwashing or cleaning. If you notice a decrease in water flow, the filter may
need to be cleaned. Using the Backwash feature will rinse the pads and extend time
between full cleanings. Also, be sure to check that the pump is not clogged. Replace the
pads when they show signs of wear to maximize filtration capabilities.
Backwashing the Filter
1. For units with UV, be sure to turn this off or unplug it
before servicing. Unplug the pump.
2. Remove the cap from the backwash port labeled
"CLEAN". Be sure to not lose the gasketed plug and nut.
3. Connect tubing to the backwash port with supplied
barb hose connector or PVC adaptor fittings. The hose
can run to a garden area as the backwash water from
the pond is good for watering.
4. Rotate the backwash valve to "CLEAN".
5. Turn on the pump and water will begin to rinse the
pads and exit the backwash port.
6. Run the pump for a few minutes. The water from the
backwash should begin to clear. Shut the pump off.
Note - If water does not clear, a full cleaning of the
pads may be required. Full cleanings also take less
pond water than extended backwashing. For example,
a pump that produces 2000 gallons per hour (33 gallons
per minute) would use 167 gallons of pond water in 5
minutes. This can be very effective when doing water
changes, but you do not want to pump too much water
out of your pond just to do a backwash cycle.
7. Once backwash is complete, remove the connector
and hose from backwash port and replace gasketed
plug and secure with nut.
8. Rotate the backwash valve back to "RUN" and turn
pump and UV (if applicable) back on.
9. Replace water in the pond lost to backwashing.
If necessary, be sure to properly treat the water with
dechlorinator to protect your fish.
10. Be sure to verify the system is functioning properly
and check for leaks.
4
Step 2
Step 4 - CLEAN Position
Step 8 - RUN Position
