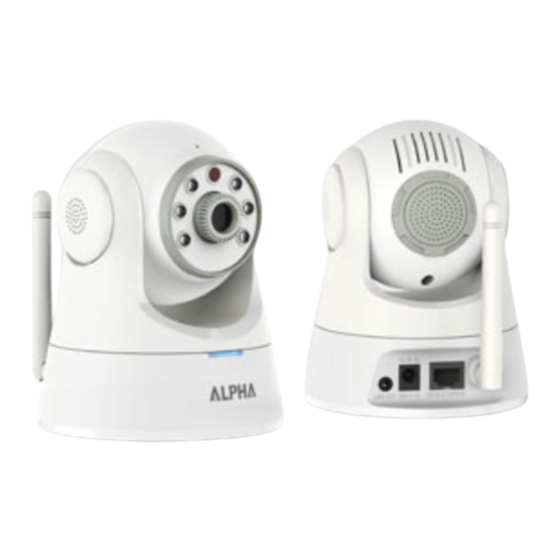
Alpha Networks PT-3152 Panduan Instalasi Cepat - Halaman 7
Jelajahi secara online atau unduh pdf Panduan Instalasi Cepat untuk Kamera Keamanan Alpha Networks PT-3152. Alpha Networks PT-3152 11 halaman.

4. This screen allows you to change the
administrator password. To change
the password carry out the following:
Tick the Change Password
checkbox
Type a New Password
Type it again to Confirm
Password.
Click the > symbol to proceed to
the next IPCam Wizard menu
screen.
Leave the checkbox unchecked to skip this step.
5. This screen allows you to set a
Camera Name and configure the
date and time settings of the
Camera:
Type a name to identify your
Camera in the Camera Name field.
Use the drop-down menu to set
the Camera's date.
Adjust the time of the camera, by
using the adjacent up and down
controls
Click the Clock icon to copy the time and date settings from your computer.
Click the > symbol to continue.
6. Choose how to configure the
network settings. The options are
PPPoE, DHCP and Fixed IP
(manually set IP).
Click the > symbol to proceed to
the next IPCam Wizard menu
screen.
If you are choosing a PPPoE network connection, proceed to step 6a to configure
PPPoE network settings.
PT-3152(C)/PT-3153(C) Quick Installation Guide
6
