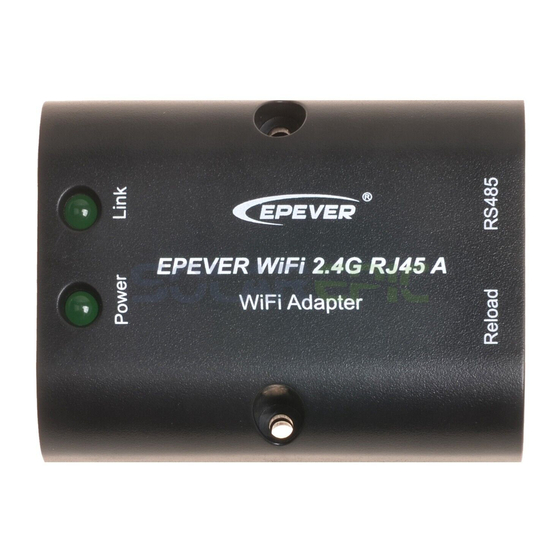
Epever WiFi 2.4G DB9 B Panduan Memulai Cepat - Halaman 2
Jelajahi secara online atau unduh pdf Panduan Memulai Cepat untuk Adaptor Epever WiFi 2.4G DB9 B. Epever WiFi 2.4G DB9 B 2 halaman. Wifi 2.4g adapter
Juga untuk Epever WiFi 2.4G DB9 B: Panduan Memulai Cepat (2 halaman)

HUIZHOU EPEVER TECHNOLOGY CO., LTD
5. WiFi on Cloud (connect the device to the EPEVER cloud server)
CAUTION: Please get the Android or IOS version of the EPEVER cloud APP according to your phone system and install it successfully.
Step 1: Connect the WiFi
Step 2: Open the APP,
click
module to the device
Cloud" icon, and input
(select the connection
cable by the COM port).
the account to log in.
Step 12: Click "Confirm"
Step 11: Enter the WiFi
to go to the WiFi setting.
module
Connect the phone to the
page.
router WiFi again. Return
disconnect the network
to the APP, the Plant or
while configuring RTU.
light project shows.
6. Local Debugging (direct point-to-point communication with the device via WiFi)
Step 1: Connect the WiFi module to the device (connection figure, see Step1 in chapter 5, "WiFi on Cloud").
Step 2: Open the
Step 3: Click the
"WiFi" or
APP and click the
"Local" icon.
to the phone WiFi
setting.
Step 3: Click the "Plant"
the
"EPEVER
icon (it is "Light" icon
instead when login with
the streetlight account),
and select a project.
Step 10: Click "Set up
configuring
Wi-Fi" and connect the
phone to "HN_xx" WiFi
Do
not
(see the model's label
for password). Back to
the APP, click "Next."
(Option) Step 9: Return
to the APP, and click
"Read device." Copy
the ID and IMEI, then
send
them
technical staff. Users
can normally add the
module
after
recorded in the cloud
server.
Step
4:
Connect
Step 5: After the
to go
the phone to the
WiFi
"HN_xx" WiFi (see
return the APP and
the model's label
click the connected
for password).
WiFi module.
3
TEL: +86-752-3889706
Step 4: Click "
> Add
Device" on the "Plant
List" page.
Step 9: Input the router
password
and
click
"Next" (Put the router in
a 2.4G WiFi area).
to
our
it
is
Step 6: Auto identify
connection,
the
connected
device; you can also
select
the
manually.
Any changes without prior notice!
Website: www.epever.com
Step
5:
Select
the
Step 6: Select the
device to be added to
connected
the cloud server.
module.
Step
8:
This
page
Step 7: Input the ID
shows if the module's
(or scan the QR code)
IMEI has been recorded
on the module label,
and click "Confirm."
in the cloud server, and
click "Next."
(Option) Step 8: Right
page
shows
if
the
module's IMEI has not
been recorded in the
cloud
server.
Click
"Connect RTU" to jump
to the WiFi setting, and
connect the phone to
the "HN_xx" WiFi (see
the model's label for
password).
Step
7:
After
the
device
connection,
the
real-time
page
shows. Click
on
device
the top right corner.
4
WiFi
Step 8: Enter the
parameter
setting
page to read and
write
related
parameters.
Version number: V2.0
