Acculab VI-1mg Buku Petunjuk - Halaman 10
Jelajahi secara online atau unduh pdf Buku Petunjuk untuk Timbangan Acculab VI-1mg. Acculab VI-1mg 20 halaman.

Model #
• VI-200
• VI-2400
• VI-350
• VI-4800
• VI-400
• VI-4kg
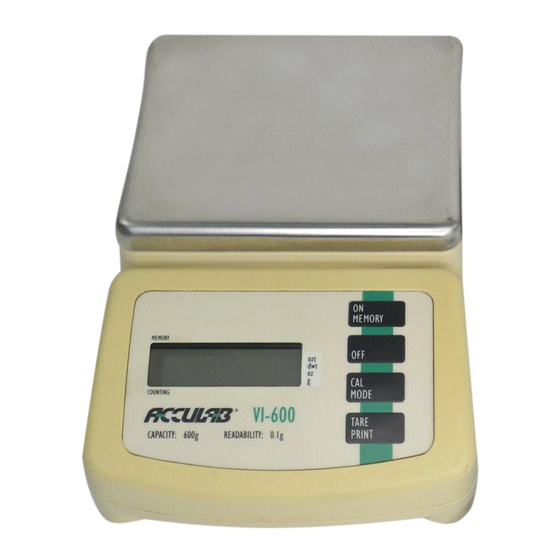
• VI-600
• VI-6kg
• VI-1200 • VI-10kg
OPERATION
AC Adapter Operation:
CAUTION: Use only a 12V Adapter with a negative tip, as provided, to supply AC power. Use of another type of
adapter may permanently damage the unit and will void the warranty.
1) Model # VI-350 will operate on AC 120V or AC 240V, only.
2) Insert the female plug into the receptacle at the rear of the unit, and then into the desired electrical outlet.
Check you use of any extension cord which may affect power output. Unplug AC adapter when not in use for
extended periods.
Battery Operation:
1) Model #'s VI-200, VI-400, VI-600, VI-1200, VI-2400, VI-4800, VI-4kg, VI-6kg, VI-10kg operate on one 9V
Alkaline battery, or AC adapter as provided.
2) To install battery, open battery cover on bottom of balance and connect battery to snap. Place battery into its
compartment and replace the cover. Always handle battery lead wires with care. DO NOT USE EXCESSIVE
FORCE!
3) Remove battery when balance is not used for extended periods. Replace battery when LCD indicates "LO".
CALIBRATION
**PLEASE NOTE: Calibration weights are NOT supplied with Models VI-1200, VI-2400, VI-4800, VI-4kg, VI-6kg,
or VI-10kg. All balances are factory calibrated and ready to operate. Calibration weights may be purchased
separately from your ACCULAB dealer (see Optional Accessories).
IMPORTANT: The calibration procedure is described below. Only use the calibration weights provided or OIML
Class weights. Calibration is always recommended when first using the balance or after the unit has been
moved or subjected to an extreme change in temperature. Always perform the calibration procedure AFTER the
unit has been allowed to properly warm up (at least 30 minutes). It is also recommended to recalibrate the unit
periodically during long periods of use and to always start a procedure by taring the unit to re-zero the balance.
External calibration is performed through use of the keypad controls and proper calibration weight. Internal fac-
tory calibration is preset and performed by accessing internal components. Access to internal components by
other than a factory authorized technician will void warranty coverage of this unit.
Calibration Procedure:
1) After allowing unit to warm for 30 minutes, remove all items from the tray top and tare the balance.
2) After observing a stable ZERO with a stable arrow in the (g) gram mode, press and hold the CAL/MODE but-
ton until calibration weight value appears on the display.
3) Gently place the correct calibration weight as provided (or equivalent OIML Class weights) onto the tray top.
4) The + sign will disappear. Wait approximately ten seconds as the unit performs internal calibration.
IMPORTANT - Do not disturb the balance during this time. Avoid vibration and air currents.
5) When calibration is complete the unit will beep, correct calibration weight value will disappear for one second
then reappear as an active weight value. The balance is now calibrated.
6) Remove calibration weight and press the TARE button to reset the zero point. NOTE: If calibration weight
value remains on the LCD display, an improper calibration weight has been used. Remove improper weight and
repeat calibration procedure with correct weight.
page 9
