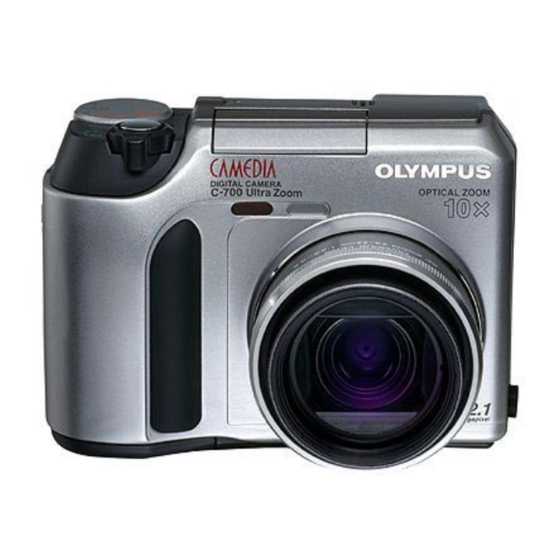
Olympus C-700 - CAMEDIA Ultra Zoom Buku Saku - Halaman 14
Jelajahi secara online atau unduh pdf Buku Saku untuk Kamera Digital Olympus C-700 - CAMEDIA Ultra Zoom. Olympus C-700 - CAMEDIA Ultra Zoom 17 halaman. Olympus camedia c-700 ultra zoom: quick start
Juga untuk Olympus C-700 - CAMEDIA Ultra Zoom: Buku Saku (2 halaman)

27
U
S
SING
PECIAL
1. With the Mode Dial set to any shooting mode other than
Auto, press Menu/OK to display the top menu, then press
the right arrow on the arrow pad to display the Mode
menu. With the CAMERA tab highlighted, press the right
arrow to activate the menu.
2. Press the up or down arrow on the arrow pad to highlight
FUNCTION, then press the right arrow to display your
choices.
3. Press the up or down arrow on the arrow pad to select one
of the effects, or OFF (the default), then press OK/Menu
once to confirm the selection, and again to hide the menu.
U
S
SING THE
1. With the Mode Dial set to any mode other than Auto, press
OK/Menu to display the top menu, then press the right
arrow on the arrow pad to display the Mode menu.
2. Press the down arrow on the arrow pad to highlight the
SETUP tab and press the right arrow to activate the menu.
3. Press the up or down arrow on the arrow pad to highlight
the command you want to change then press the right
arrow to display choices.
4. Make your change and then press OK/Menu once to
confirm your selection and again to hide the menu.
C
P
REATING A
1. Set the Mode Dial to playback mode (the green arrowhead
in a box), be sure a movie isn't being displayed (it would
have a movie camera icon), and press the Print button
(labeled with a green printer icon). If you previously
specified a print order you are asked if you want to reset or
keep it. To change the order, select RESET.
2. Select the icon to print selected images or all images and
press OK/Menu to display choices.
3. Press the up or down arrows on the arrow pad to select
choices and make them as follows (if printing selected
images, you can scroll through the images and press OK/
Menu to change these settings for the current image):
To specify a quantity, highlight the quantity icon (a
S
C
://
HORT
OURSES HTTP
WWW
E
FFECTS
M
ETUP
ENU
O
RINT
RDER
.
.
SHORTCOURSES
COM
28
printer followed by an "x") and press the right arrow to
display a counter. Press the up or down arrow to specify a
quantity then press OK/Menu.
To print the date or time on images, highlight the date
and time icon (a clockface) and press the right arrow. You
can then use the arrow pad to highlight DATE, TIME, or
NO (as in no date or time) and press OK/Menu.
To trim an image when printing selected images, high-
light the TRIM icon (crop marks) and press the right arrow.
With SETUP highlighted, press OK/Menu to display
cropping marks you use to crop the print (see the "Crop-
ping" box to the left). When finished, highlight OK and
press OK/Menu.
4. When finished, press OK as necessary then press the
Drive/Erase button to exit.
F
S
ORMATTING A
MART
1. Press OK/Menu to display the top menu, then do one of
the following:
With the Mode Dial set to any mode but Auto, press the
right arrow on the arrow pad to display the Mode menu.
With the Mode Dial set to Auto mode, press the right
arrow on the arrow pad to select the CARD SETUP short-
cut, then jump to Step 4.
2. With the CAMERA tab highlighted, press the down arrow
highlight the CARD tab and press the right arrow to
activate the menu.
3. With CARD SETUP highlighted, press the right arrow to
display the choices.
4. Press the up arrow on the arrow pad to highlight YES, then
press OK to format the card.
© C
2001
OPYRIGHT
BY
M
C
EDIA
ARD
D
P. C
ENNIS
URTIN
