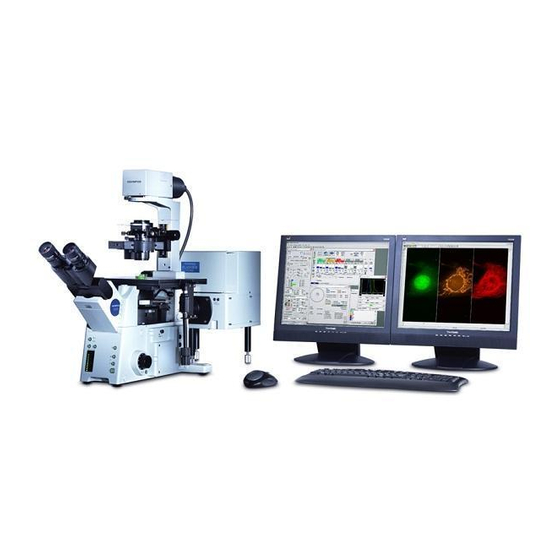
Olympus Fluoview FV1000 Petunjuk Singkat - Halaman 5
Jelajahi secara online atau unduh pdf Petunjuk Singkat untuk Mikroskop Olympus Fluoview FV1000. Olympus Fluoview FV1000 7 halaman. Confocal microscope
Juga untuk Olympus Fluoview FV1000: Ikhtisar (28 halaman), Panduan Pengguna (42 halaman), Petunjuk Singkat (7 halaman), Panduan Pengguna (9 halaman), Manuallines (3 halaman)

Olympus FV1000
3. Switching on the microscope
1. Follow the procedure by the numbers:
1
,
2. Switch on the HBO lamp (no. 1).
3. Switch on all the labelled buttons of the main switches no. 2 and 3. Microscope
stand, laser and scan controllers, and the computer start automatically.
4. Start the Olympus software: double click on icon
5. Select your User ID, type in your password, and press OK.
6. Do not perform the next step until the software start up is completed.
7. This microscope provides the following laser lines:
405 nm
440 nm
491 nm
532 nm
559 nm
635 nm
The lasers for 405, 440, and 635 nm are controlled entirely through the Olympus
software. These lasers are switched on by selecting an acquisition protocol from the
dye list in the "Image Acquisition" window or by directly clicking on the laser box in
the "Acquisition Setting" window.
The lasers for 491, 532, and 559 nm have to be switched on manually.
Note, the software will not recognize, if they are not switched on.
Switch on only the lasers you need.
8. To switch on 491 and 532 nm, after the green diode stopped blinking, turn the ignition
key (no. 4) to the vertical position. A red diode flashes for about 60 sec. Then the
green and 2 red diodes should be on.
9. To switch on 559 nm (no. 5), wait until the diode 'TEMP' stops blinking. Then turn the
ignition key (no. 5) to the ON position. The red diodes "Laser" will blink for a few
min. Then they should stay red.
2
, ..............
-5-
5
"FluoViewStart".
Short instructions
