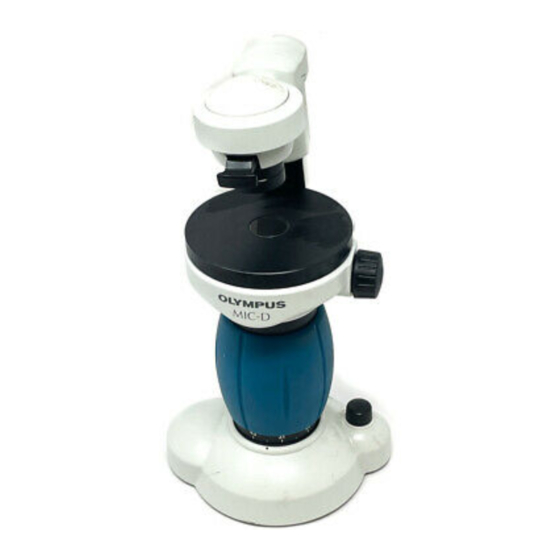
Olympus MIC-D Panduan Memulai Cepat - Halaman 13
Jelajahi secara online atau unduh pdf Panduan Memulai Cepat untuk Mikroskop Olympus MIC-D. Olympus MIC-D 28 halaman. Digital microscope
Juga untuk Olympus MIC-D: Manual Perbaikan (43 halaman)

11
MIC-D Software
I....-.Im age Capture Window
The
Image
Capture Window is where you 'take' or 'capture' still and moving
images
viewed in the Live Image Window. Capturing images is as simple as
clicking
on the Image Capture button
(
ol
to capture a photo, or
clicking
on the
Record
Movie button
;;.
to record a
movie
- one
click
to start
recording and another to finish. After you click to finish recording the
computer will take a moment to load the new movie
.
The last image that was captured will be
displayed
in the Last Image
Captured
Window.
Other images captured in the same session are
displayed in the Film Strip at the bottom of the screen.
J
In
the
bottom right corner of the Live Image Window there is a Scale
Bar.
This needs to be adjusted to match the optical zoom level of the
microscope. To do this, first read the zoom level from the scale below the
Optical Zoom Control of the
microscope,
then set the Slide Bar in the Image
Capture Window to the same value. The software will adjust the Scale bar
in the Live Image
Window.
The MIC-D Software will automatically set the cam
era
exposure setting to
match
the zoom level when 'Auto-Exposure' is selected
.
De-select
'Auto
Exposure' to adjust the exposure manually using the slide
bar.
C!J
Ad "
MU !,"
'
~
~
lIIlI
.
_ _
To
save
images, first
give
them a name and
then
select a
folder
to save
them
to
.
It is
recommended
that you do not use the default Library
Folder.
Instead, create a special folder for MIC-D images on your hard drive
.
llll
IIlIEl
1IIIIlII~
.~
1lllII·
1IIIIlII·
The format and resolution of captured still and moving images may also be
changed. Still images can be saved in either ]pEG, TIFF or BMP formats.
Moving Images may be saved in either MPEG or AVI formats.
