Olympus MX61L Panduan Perakitan - Halaman 26
Jelajahi secara online atau unduh pdf Panduan Perakitan untuk Mikroskop Olympus MX61L. Olympus MX61L 49 halaman. 200mm/300mm compatible semiconductor/fpd inspection microscopes
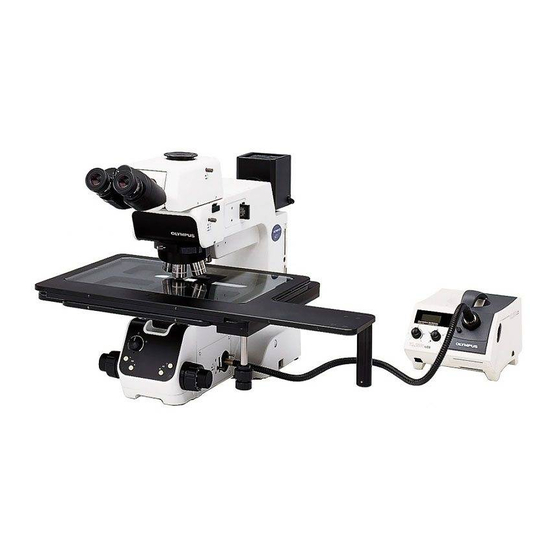
2-3 Modules Installed by Olympus
The modules described in the following sections are installed and adjusted by Olympus. The user
should not install and/or adjust them.
# When installing the modules, the personnel of Olympus must take caution not to put fingerprints or
scratches on them.
1
Transmitted Light Module (MX-TILLA/TILLB)
³
1. Remove the stage.
2. Insert one of the provided clamping screws (AB 3 x 25) into each of the four screw holes on the condenser @ by means
of a washer, and drop the condenser in to the opening ² on the focusing block so that it faces the front direction (i.e. so
that the AS lever or shutter comes on the front).
3. Place the condenser by pushing it against the left and deep directions when the microscope is seen from the front, and
tighten the four clamping screws (AB3 x 25) using an Allen wrench (2.5 mm). The attaching of the type A model is now
complete.
4. With the type B model, clamp the interlock section ³ of the condenser height adjustment ring into the four threaded
holes on the front part of the focus adjustment section using the provided clamping screws (AB3 x 5) and Allen wrench
(2.5 mm). After clamping temporarily, find the positioning with which the gear interlocking is smooth and tighten the
clamping screws firmly.
5. Using a Phillips screwdriver, loosen the clamping screws (CTK3 x 6) on the cover plate on the right of the base, and
remove the cover plate.
6. Raise the focus adjustment section to the highest position, align the dovetail groove ƒ of the illuminator unit | with the
internal dovetail, fit them all the way, and tighten the clamping screws of the internal dovetail using the Allen screwdriver.
To prevent loosening the condenser, screw in the provided screws (AHU 5 x 6) additionally above the clamping screws
(using the Allen wrench with a width across flats of 2.5 mm).
7. Attach and clamp the illuminator unit cover ... using the clamping screws (CTK 3 x 6) so that the spaces of the openings
are uniform with respect to the outward projections of the illuminator unit |.
8. Loosen the light guide holder clamping screw † and pull out the light guide holder by holding the knob ‡.
9. Insert the light guide Š into the light guide holder and tighten the clamping screws on the side.
10. Attach the light guide holder in the original position and eighteen the clamping screw †.
23
@
²
|
ƒ
...
†
‡
Š