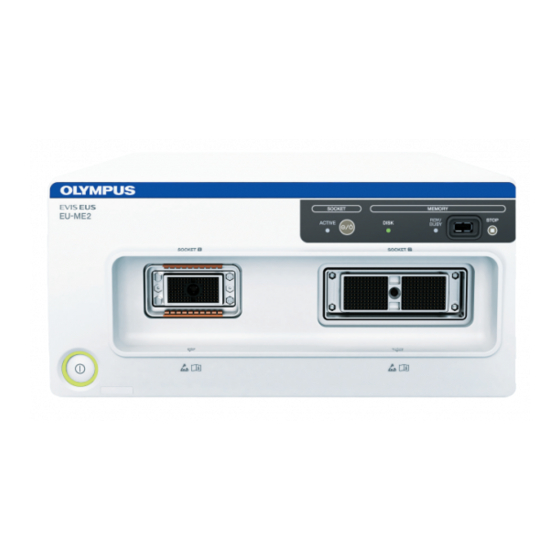
Olympus EU-ME2 Premier Plus Panduan Referensi Cepat - Halaman 3
Jelajahi secara online atau unduh pdf Panduan Referensi Cepat untuk Peralatan Medis Olympus EU-ME2 Premier Plus. Olympus EU-ME2 Premier Plus 4 halaman. Removal of patient data
Juga untuk Olympus EU-ME2 Premier Plus: Panduan Referensi Cepat (2 halaman)

EU-ME2, EU-ME2 Premier Plus
Quick Reference Guide - Setup
CAUTION:
This quick reference guide is only a summary of the EU-ME2, EU-ME2 Premier Plus Instructions for Use. For detailed operating instructions, be sure to follow
the EU-ME2, EU-ME2 Premier Plus Instruction Manual included with your EU-ME2 or EU-ME2 Premier Plus purchase.
1
Insert the
Portable Memory
2
Ensure the
Portable Memory Access Indicator
* Note: The
Portable Memory Access Indicator
,
In the latter case
do not remove the
1
Press the
MOVE DATA
2
Select the type of data movement.
3
The
Progress Bar
screen appears on the monitor while moving data. The
movement is complete.
* Do not turn off the EU-ME2 or external storage device while the Progress Bar is displayed.
* It is highly recommended to execute periodic data backup.
Preparation of Portable Memory
in the
Portable Memory Port
is lit (green) when the device is ready and blinks (orange) when the EU-ME2 is accessing memory.
Portable
Memory.
Portable Memory Access Indicator
Data Management (Move Data)
key and the
Move Data
screen (below) appears on the monitor.
MOVE DATA Key
on the front panel until it clicks.
is lit.
Progress Bar
Move Data Screen
Progress Bar Screen
Portable Memory
screen disappears, when data
Moves all image data saved in the
internal memory
Moves the image data saved on the
same day as the movement date
Moves the image data saved in the
current exam
3
