Olympus VISERA ELITE II Panduan Referensi Cepat - Halaman 3
Jelajahi secara online atau unduh pdf Panduan Referensi Cepat untuk Peralatan Medis Olympus VISERA ELITE II. Olympus VISERA ELITE II 4 halaman.
Juga untuk Olympus VISERA ELITE II: Panduan Referensi Cepat (4 halaman)
Quick Reference Guide to Near Infra-red Imaging with VISERA ELITE II
Disclaimer: Information provided in this guide is not exhaustive. Please refer to the complete Instructions For Use for each
item of equipment which should be thoroughly read and understood prior to handling, use and storage of the equipment.
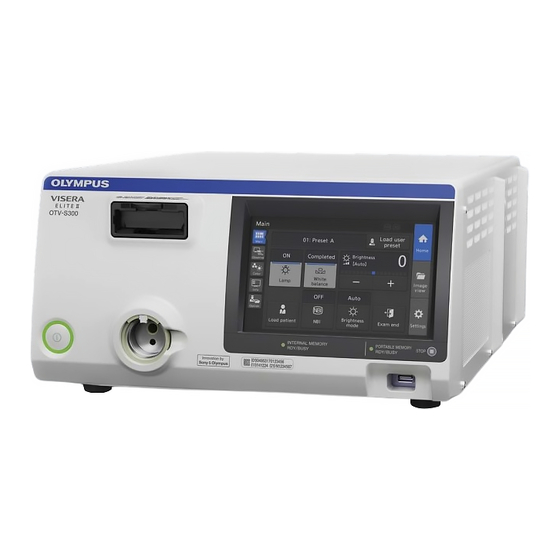
Controlling NIR Imaging
Through the NIR light source.
Observation
mode
indicator
Observation
mode button
Press the Optical Digital mode on and toggle the mode
select until IR is selected.
Observation
mode selection
indicators
Control panel
Or select from the camera head programmable buttons.
Issue 1
05/02/2021
Camera Head
The three programmable buttons are assigned as follows:
1.
IR – on and off
2.
Colour mode (overlay (mode 1) or pure IR (mode 2)
3.
Record/Pause
Observation
mode select
button
Troubleshooting
No power
•
Ensure everything is switched on.
•
Check the isolation switch on the transformer is
turned on.
No image
•
Ensure everything is switched on including the
monitor which can be switched off by accident.
•
Unplug camera head, colour bars should appear. If no
colours appear, contact Olympus Service Helpdesk.
IR Observation is disabled (not illuminated)
•
Check the telescope is an Olympus IR compatible
one with an IR marking on the barrel.
•
Check the light guide cable is connected to
the IR light source and remove any cable from
the processor.
The endoscopic image is completely green
•
Check an IR compatible telescope is being used.
•
Turn down the theatre lights as far as possible.
KMF-08928
NCDR 02866