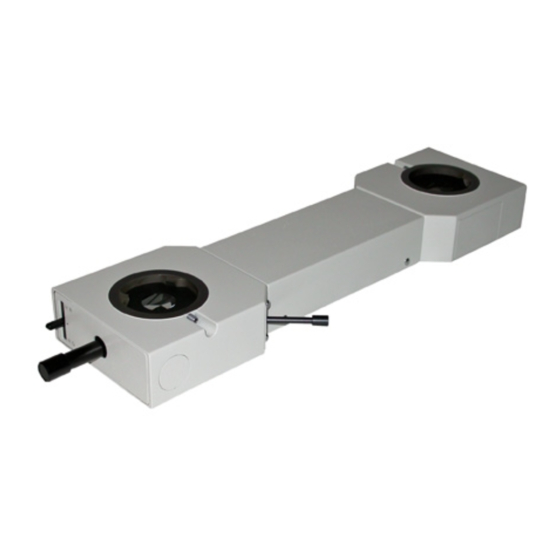
Olympus U-MDO10-E Petunjuk Manual - Halaman 13
Jelajahi secara online atau unduh pdf Petunjuk Manual untuk Peralatan Laboratorium Olympus U-MDO10-E. Olympus U-MDO10-E 18 halaman. Discussion attachments

QAssemble the discussion attachment by referring to the layout shown in Chapter 1 on page 3.
* Install the discussion attachment and the modules combined with it on a same Single desktop surface. With the U-
MDOlO-3 multi-viewing attachment, prepare a big desk surface (1250-1400 mm (W) x 1100-1250 mm (DJ).
Fig. 6
1. Remove the Observation tube from the microscope frame 0 in use, and
attach the discussion attachment 0 equipped with the pointer control
lever
2. When the U-MDOlO-3 multi-viewing attachment is used, attach another
module (IJ-MDOlOB3).
3.Attach the Observation tune removed before above the discussion at-
tachment.
Fig. 7
Fig. 8
Screw in the top of the stand 0 into the mount hole 0 on the bottom side
of the side-view tube 0.
J
1. Remove the taps from the mounts on the side-view tube and micro-
scope frame.
2. Loosen the stand moving/locking
knob 0 and, while lifting up the stand,
fit the side-view tube into the side-view tube mount 0 on the microscope
frame.
3. When the side-view tube is parallel with the desktop surface, tighten the
stand moving/locking
knob.
4. Turn the mount ring 0 of the side-view tube to clamp it against the micro-
scope frame
@After assembly, be Sure to adjust the height of the side-view tube
stand.
If the side-view tube and desktop surface are not parallel, the periphery
areas of the assistant observers' fields of view may be tut off or deviation
may be observed between the fields of view of the main and assistant
observers.
To adjust the height, leck the stand moving/locking
knob so that the
side-view tube and the desktop surface are almost in parallel, then check
if the periphery areas of the assistant observers' fields of view are tut off
and if there is deviation between the fields of view of the main and assis-
tant observers. If either is detected, loosen the stand moving/locking knob
slightly, fine adjust the height of the stand and tighten the stand moving/
locking knob firmly.
11
0
