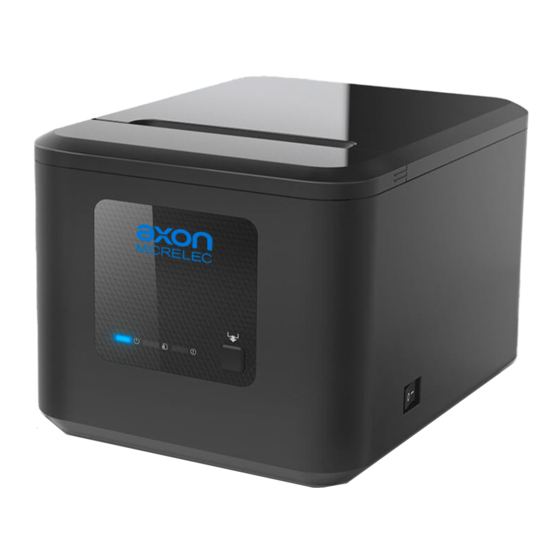
Axon POS80K Panduan Memulai Cepat - Halaman 2
Jelajahi secara online atau unduh pdf Panduan Memulai Cepat untuk Printer Axon POS80K. Axon POS80K 2 halaman.

Power Supply
1. Make sure the printer is turned off.
2. Connect the power adapter to the printer.
3. Connect the power adapter to the power cord.
4. Plug the other side of the power cord into the socket outlet.
ON
OFF
Power Switch
1
Power Adapter
4
!
Note: The power adapter and power cord vary by country or region.
Caution:
This is a Class A product. In a domestic environment this product may cause
radio interference in which the user may be required to take adequate measures.
CE DECLARATION OF CONFORMITY
Manufacturer certifies that the following designated product:
AXON POS80K
Type of product:
Direct Thermal Line Printing
It is in conformity with the standards.
Test Standard Information
Under the Council Directive: (LVD) Directive 2014/35/EU relating to
electrical equipment designed for use within Low Voltage Directive.
EN 62368-1:2014+A11:2017
Under the Council Directive: (EMC) Directive 2014/30/EU relating to
Electro Magnetic Compatibility.
EN 55032: 2015+AC:2016
EN 55035: 2017
EN 61000-3-2: 2014
EN 61000-3-3: 2013
We declare herewith that as a result of the manner in which the
device designated below was designed, the type of construction and
the devices which, as a result have been brought on to the general
market comply with the relevant fundamental regulations of the CE
Rules for Safety. And we declare herewith the above mentioned
model is conformity with Directive 2014/30/EU and 2014/35/EU.
In the event of any alteration which has not been approved by us
being made to any device as designated above, this statement shall
thereby be made invalid.
The declaration is sole responsibility of the manufacturer AXON.
2
3
Power Cord
Ethernet Setting
1. Connect the printer to router (or master device) through the
network cable;
2. The default Ethernet mode is Static IP Mode with IP address
"192.168.0.31" ;
3. Ethernet interface parameters can be set through POS utility
or web (Master device and printer are under the same
network segment, enter 192.168.0.31 in master device
browser);
4. Please refer to User Manual for details.
FCC Warning
This device complies with part 15 of the FCC Rules. Operation
is subject to the following two conditions: (1) this device may
not cause harmful interference, and (2) this device must
accept any interference received, including interference that
may cause undesired operation.
Any changes or modifications not expressly approved by the
party responsible for compliance could void the user's
authority to operate the equipment.
NOTE: This equipment has been tested and found to comply
with the limits for a Class A digital device, pursuant to part 15
of the FCC Rules. These limits are designed to provide
reasonable protection against harmful interference when the
equipment is operated in a commercial environment. This
equipment generates, uses, and can radiate radio frequency
energy and, if not installed and used in accordance with the
instruction manual, may cause harmful interference to radio
communications. Operation of this equipment in a residential
area is likely to cause harmful interference in which case the
user will be required to correct the interference at his own
expense.
-- Reorient or relocate the receiving antenna.
-- Increase the separation between the equipment and receiver.
-- Connect the equipment into an outlet on a circuit different
from that to which the receiver is connected.
-- Consult the dealer or an experienced radio/TV technician for
help.
The device has been evaluated to meet genaral RF exposure
requirement. The device can be used in portable exposure
condition without restriction.
