Axon Fleet 3 Panduan Pengguna - Halaman 6
Jelajahi secara online atau unduh pdf Panduan Pengguna untuk Kamera Keamanan Axon Fleet 3. Axon Fleet 3 19 halaman. Camera system

Axon Fleet 3 Camera System
Getting to Know Your Axon Fleet 3 Camera System
Although your Axon Fleet 3 system can be configured for automated transfer from
BUFFERING to EVENT mode under the right conditions, the Dual-View Camera still includes
physical controls to enable recording. The Dual-View Camera will also provide visual and
audible notification of the Axon Fleet 3 system's state of operation.
Note: Many of the features activated by the buttons below also can be activated with the
Axon Fleet Dashboard application. See the Axon Fleet Dashboard Manual for more
information.
Axon Fleet 3 Dual-View Camera Hardware
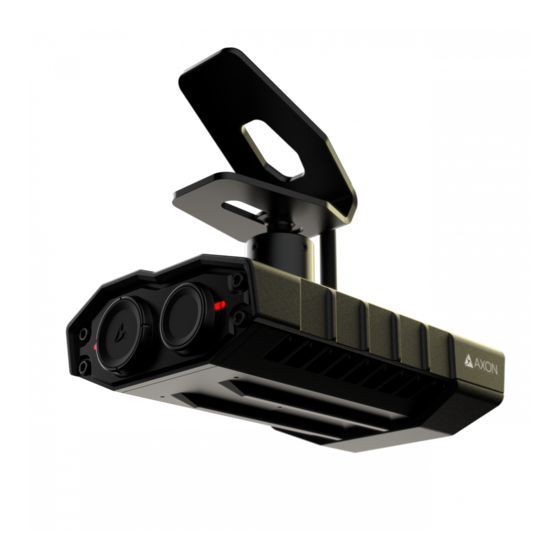
The following images show the different components on the Axon Fleet 3 Dual-View camera,
Model AX1031.
Power Cable
Evidence Capture Lens
Operation Indicator
Swivel ball joint – Attaches camera to camera mount. The camera supports pan, tilt, and
roll. If you want to restrict any of those you can tighten the set screws to support this. For
most installations Axon recommends tightening the roll and tilt screws and leaving the pan
Axon Enterprise, Inc.
Roll set screw
Swivel Ball Joint
ALPR Lens
Axon Fleet 3 Dual-View Camera front view and Swivel Ball Joint
Tilt set screw
Pan set screw
User Manual
Page 6 of 19
