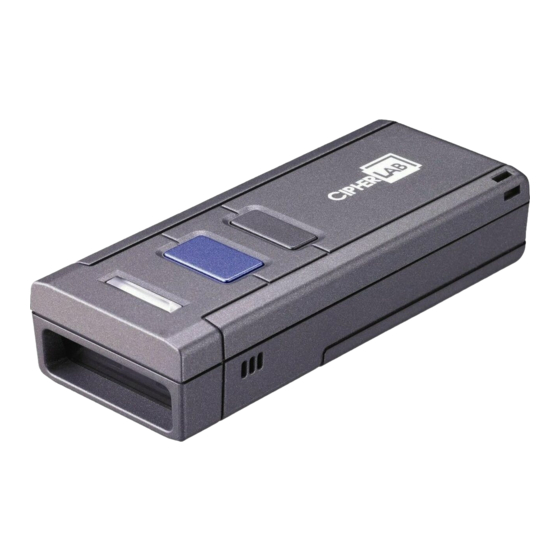
CipherLab 1660 Panduan Memulai Cepat - Halaman 2
Jelajahi secara online atau unduh pdf Panduan Memulai Cepat untuk Pembaca kode batang CipherLab 1660. CipherLab 1660 2 halaman. Cordless scanner

Select HID
Depending on the interface you need, scan a specific
interface
Supported Interface —
a
BT HID
a
CipherLab dongle: USB HID
a
Direct USB cable: USB HID
Reset Connection
For BT HID, you can only have the scanner connected to one computer at a time. If you
want to connect the scanner to another host, scan the
Reset Connection
the current connection record will be cleared. The scanner will restart itself automatically.
>> See setup card: 3a
Select Keyboard Type
Keyboard type PCAT(US) —
By factory default, the keyboard type is set to PCAT(US). If you need a keyboard type other
than that, you may change it before use. If you are switching back to HID from a non-HID
interface, you will have to go through the three steps below to complete the keyboard type
setting.
Keyboard type other than PCAT(US) —
Step 1:
Scan a specific
HID interface
barcode.
Step 2:
Scan the
numeric
barcodes for the country code.
Step 3:
Scan the
End
barcode to complete the setting.
Direct USB connection
for 1661 only
>> See setup card: 3a/3b
P/N S1660AQG02012
>>>>
Select Virtual COM
barcode from the setup card.
Depending on the
Supported Interface —
a
BT SPP , Master or Slave Mode
a
CipherLab dongle: USB Virtual COM
a
Direct USB cable: USB Virtual COM
barcode so that
>> See setup card: 4a
Restore Defaults
Restore System Defaults —
For the scanner to restore the factory defaults, scan the
Alternatively, you may use key combination in the following sequence:
Step 1:
Hold down the
Step 2:
When the scanner responds with two short beeps (high tone), press the
key for about 5 seconds. The scanner LED indicator becomes solid red for a while
and then goes off.
Step 3:
When the scanner responds with a long beep (high tone), release the keys.
Its LED indicator becomes solid red and goes off quickly.
The scanner will restore system defaults and restart itself automatically.
Save as User Defaults —
For the scanner to keep the current settings as user defaults, scan the
Defaults
barcode.
Restore User Defaults —
For the scanner to restore the user defaults, which you have saved earlier, scan the
User Defaults
barcode.
>> See setup card: 4b
>>>>>
interface
you need, scan a specific interface barcode from the setup card.
Restore System Defaults
Power/Delete
key.
Save as User
Mobile Phone Support
As long as your scanner fits the requirements, the scanner can be used as a data collector
for a mobile phone.
Scanner Requirements —
a
1660 firmware version 1.33 or later
a
1661 firmware version 1.00 or later
Supported Mobile Phones —
a
iPhone, iPad (HID)
a
BlackBerry 5.x (SPP)
a
Android 2.x (SPP)/Android 3.x (SPP/HID)
a
Windows Mobile, Windows Embedded Handheld, Windows CE (SPP/HID)
Initial Setup
All you need to do is to scan a specific
restart itself automatically.
>> See setup card: 5a
Authentication
Use Preset PIN
barcode.
Preset PIN "0000" —
After scanning a specific
mobile phone setup
following mobile phones in Live Mode:
Trigger
a
BlackBerry, Android or Windows Mobile: SPP Slave Mode
a
Windows Mobile: HID
Preset PIN other than "0000" —
Step 1:
Scan the
Enable Authentication
Step 2:
Scan the
Start numeric
,
and
Use Random PIN
After scanning a specific
mobile phone setup
following mobile phones in Live Mode:
Restore
a
iPhone, iPad: HID
a
Windows Mobile, Android 3.x: HID
While pairing, when you see a PIN code displayed on the target device, scan the
numeric
and
End
barcodes to input the same code.
>> See setup card: 5b
mobile phone setup
barcode. The scanner will
barcode, it is set to use "0000" for the
barcode.
End
barcodes.
barcode, it is set to use random PIN for the
Start
,
Copyright ©2015 CipherLab Co., Ltd.
