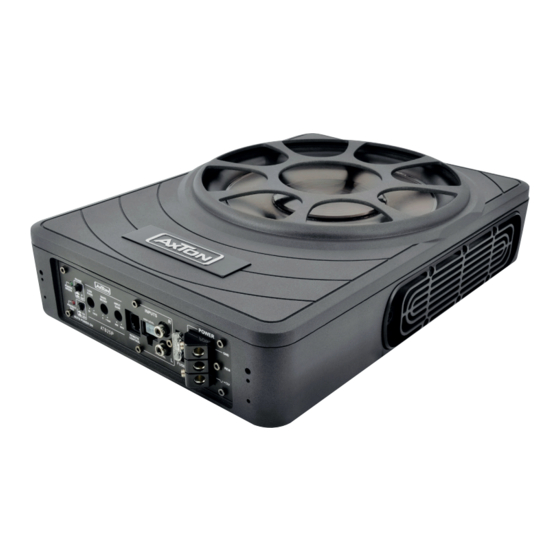
AXTON ATB25P Panduan Pemasangan & Pengoperasian - Halaman 5
Jelajahi secara online atau unduh pdf Panduan Pemasangan & Pengoperasian untuk Subwoofer AXTON ATB25P. AXTON ATB25P 12 halaman. 10" / 25 cm active subwoofer

WIRING DIAGRAM
ATB25P
Mount the Bass boost
regulatorat an easily
accessible place.
DANGER:
Use the specifi ed amperage fuse only.
Higher amperage may cause serious damage or even a fi re.
Car battery
12 V DC
Fuse
60 A
Fuse
25 A
Headunit
REM ON/OFF
i.e. Amp remote
L+R from Low Level
Audio Out of the headunit.
Use a Y Adapter if you want
to directly connect to a mono
subwoofer output.
– 8 –
OPERATION
Turn-on your head-unit keeping your volume at the lowest setting. The green status
Ground
LED on the front of the amplifier should light up now. If not, turn-off your head-unit and
re-check all wiring to and from the amplifier for missing or faulty connections.
"PROTECT"
This active subwoofer is equipped with an overload protection, immediately upon over-
loading (due to short circuit or much increased temperature) the overload protection is
activated, and the red LED indicator is lit. Through this the amplifier is protected against
damage. In case of the thermal protection a certain short cooling time must be allowed
after which the amplifier automatically resumes operation.
"PHASE"
Phase control switch for the phase adjustment of the active sub, to match the acoustical
phase of the bass output with other speakers installed in the vehicle.
"AUTO POWER ON"
Slide switch for ON/OFF control of the ATB25P when the head unit does not provide a
dedicated 12V REM switching voltage. Set auto turn-on to OFF, when the ATB25P is fed
via RCA signals and head unit provides REM voltage or else, set to "ON" when the High
Level inputs drive the amp-module.
"LOWPASS"
The lowpass cut-off frequency setting depends on the bass response of the loudspeaker.
As a rule of thumb, settings in a range between 80 to 100 Hz will render best sonic
results. For an intermediate lowpass crossover setting, go for a setting of approx. 80 Hz –
and after input gain and phase have been adjusted, it is advisable to fine tune the lowpass
crossover frequency for best possible sound quality.
Note: In general, setting the lowpass crossover frequency too low, will result in a weak
and muddy sounding bass, while setting this crossover frequency too high will result in a
'booming' bass sound and reduced low end extension.
"BASS BOOST"
The BASS BOOST feature, adjustable from 0 to +18 dB, will increase the sound level
of the bass frequencies in the 45 Hz range. If you prefer high volume listening, we
recommend keeping the bass boost at 0, because otherwise distortion will appear earlier
and you also risk to damage the subwoofer.
"INPUT GAIN"
The input level control allows the system to work well within a wide range of output level.
Choose the adjustment in the way that you achieve a sound most possibly without any
distortion. As a guideline the following procedure is recommended: If you use several
amplifiers, the adjustment has to be made for each set separately. Tune the volume
control of your car radio to 2/3 of the maximum volume. Now turn the gain control of the
amplifier from „Min„ to „Max„ direction, by playing some music with a significant bass
content, until you can hear distortions. Then again, reduce it somewhat. The gain control
adjustment has been finished now.
– 9 –
