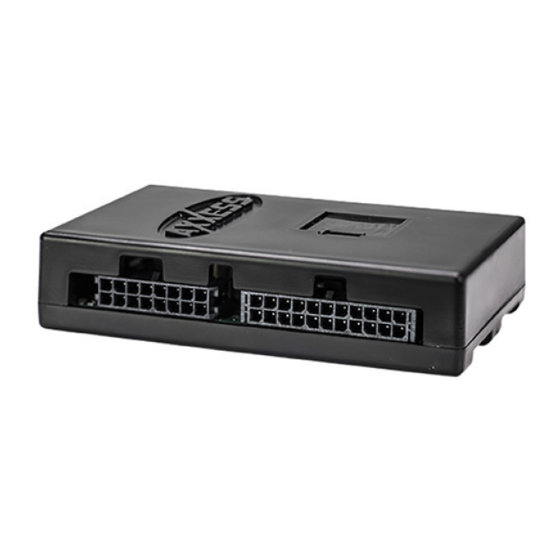
Axxess AX-GMCL2-SWC Panduan Petunjuk Instalasi - Halaman 7
Jelajahi secara online atau unduh pdf Panduan Petunjuk Instalasi untuk Aksesori Mobil Axxess AX-GMCL2-SWC. Axxess AX-GMCL2-SWC 12 halaman. Gm data interface with swc 2000-2013
Juga untuk Axxess AX-GMCL2-SWC: Panduan Petunjuk Instalasi (12 halaman)

Initializing and programming the AX-GMCL2-SWC (Cont)
For the steps below, the Red L.E.D. (located inside the interface, next to the
potentiometer) can only be seen while active. The interface does not need to be
opened to see the L.E.D. This is a timed process, so it would be best to read these
steps beforehand, to ensure a clear understanding of what is to be expected.
1. Turn the key (or push-to-start button) to the ignition position, the L.E.D. will turn on.
2. Within a minute, the L.E.D. will turn off for a couple seconds, then flash slowly (up
to (16) times, indicating which radio is connected to the interface), and then turn
off. Pay close attention as to how many slow flashes there are. This will help in
troubleshooting, if need be. Refer to the L.E.D. feedback section for more information.
3. Within a few seconds the L.E.D. will turn on, and the radio will turn off.
4. Within a minute the L.E.D. will turn off, and the radio will come back on,
indicating the initialization process is successful.
Note: If the radio does not come back on within a minute, the interface is not
communicating to the vehicle. Turn the key off, check all connections, and then try
again. The interface may need to be reset at this point.
5. Immediately after the L.E.D. turns off, and the radio comes back on, the
following buttons on the steering wheel must be pressed in the exact sequence
as shown. For each button press, the L.E.D. will turn on momentarily:
• Volume Up
• Seek Up
• Volume Up
• PTT (OnStar) or MUTE
• Volume Up
6. The L.E.D. will turn on after the last Volume Up button has been pressed,
indicating programming has ended.
®
AX-GMCL2-SWC
7. Press all the buttons to ensure that they are working as intended.
8. Cycle the ignition and test again.
9. If any steps in this process failed, or was executed improperly, reset the
interface, and then resume from step 5.
Notes:
• PTT (OnStar) when pressed will Mute/Attenuate the radio.
• PTT (OnStar) when pressed and held for 2 seconds will activate OnStar, if applicable.
For all other applications:
For the steps below, the Red L.E.D. (located inside the interface, next to the potentiometer)
can only be seen while active. The interface does not need to be opened to see the L.E.D.
1. Turn the key (or push-to-start button) to the ignition position, the L.E.D. will turn on.
2. Within a minute, the L.E.D. will turn off for a couple seconds, then flash slowly
(up to (16) times, indicating which radio is connected to the interface), and
then turn off. Pay close attention as to how many slow flashes there are. This
will help in troubleshooting, if need be. Refer to the L.E.D. feedback section for
more information.
3. Within a few seconds the L.E.D. will turn on, and the radio will turn off.
4. Within a minute the L.E.D. will turn off, and the radio will come back on,
indicating the initialization process is successful.
Note: If the radio does not come back on within a minute, the interface is not
communicating to the vehicle. Turn the key off, check all connections, and then try
again. The interface may need to be reset at this point.
7
