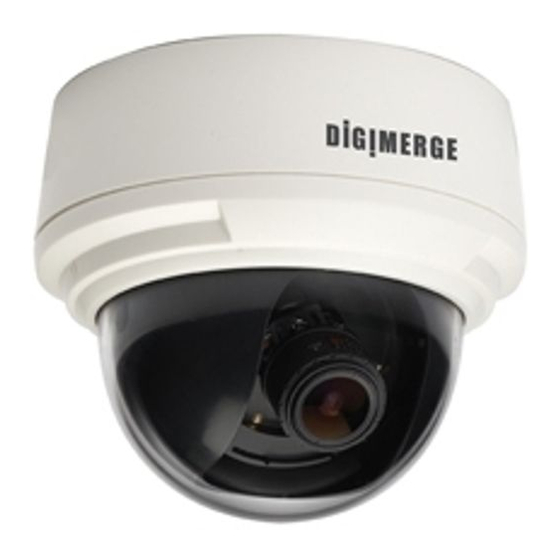
Digimerge DPV24TLX Buku Petunjuk - Halaman 14
Jelajahi secara online atau unduh pdf Buku Petunjuk untuk Kamera Keamanan Digimerge DPV24TLX. Digimerge DPV24TLX 15 halaman. Ultra resolution day & night dome camera
Juga untuk Digimerge DPV24TLX: Buku Petunjuk (15 halaman), Buku Petunjuk (14 halaman)

CAMERA ADJUSTMENT
PRIVACY:
Hide an area so that it is not displayed on the monitor.
1. Highlight 'PRIVACY' in the SPECIAL setup menu.
2. Move the the joystick left/right to change setting
to OFF/ON
3. Press the joystick to access the submenu for ON setting
- AREA SELECT:
Select privacy area number. AREA 1-8
With the area slected will be shown ashing on and off visually.
- AREA DISPLAY:
Turns selected privacy area ON or OFF.
Pressing joystick when ON will change display to set
the position and the size of the area. Moving the joystick
will change the setting, and press joystick to accept.
After you have set both position,size you can RET or AGAIN
- COLOR:
Range 0-15. Sets the color of the selected privacy area.
SYNC:
With 24V AC power source, select INT / EXT for Sync, use left/right to select.
LANGUAGE:
The OSD supports English ,Korean,Japanese, Chinese, Simplified Chinese,Russian
DEFECT:
For Service use only!
ADJUST
ADJUST:
SHARPNESS: Image edge sharpness 0 (soft image)
to 31 oversharp (default is 12)
MONITOR: CRT/LCD/USER setting for monitor type
Note: For direct monitor connection only.
(default is CRT)
OSD COLOR: 0-15 color for OSD menu text
(default is 3)
RESET
RESET:
This will reset all settings for all menus to manufacturer
defaults. This allow you to return to shipped
settings from the manufacturer.
-22-
TROUBLE SHOOTING
PRIVACY
Refer to the following table if you are experiencing trouble with your camera.
AREA SELECT
AREA�
Contact an authorized technician if the table does not provide you with a
AREA DISPLAY ON
COLOR
|--------�
RETURN
RET
solution to the trouble.
Nothing appears on the screen.
Check that the power cord and line connection between the camera and monitor are connected properly.
Check that you have properly connected VIDEO cable to the camera VIDEO output jack.
The image on the screen is dim.
Is lens stained with dirt? Clean lens with soft, clean cloth.
Adjust the monitor contrast & brightness controls
Re-position the camera if necessary.
The image on the screen is dark.
Adjust the contrast feature of the monitor.
If you have an intermediate device, set the 75 / Hi-z properly.
The camera is not working properly, and the surface of the camera is hot.
Check that you have properly connected the camera to an appropriate power source.
The Motion Detection function does not work.
Check that MOTION is turned to ON in SPECIAL submenu.
Color is not correct.
Check the setting of WHITE BAL SETUP menu .
When the resistance value of copper wire is at [20˚C(68˚F)]
Copper wire size (AWG)
ADJUST
Resistance ( /m)
SHARPNESS
-|------- ��
Voltage Drop (V/m)
MONITOR
CRT
OSD COLOR
�
As shown in the table above, voltage decreases as the wire gets longer. Therefore use of
RETURN
RET
an excessively long adaptor output line for connection to the camera may affect the
performance of the camera.
*Standard voltage for camera operation : AC 24V ±10% or DC 12V ±10%
*There may be some deviation in voltage drop depending on the type of wire and the manufacturer.
RESET
• Be sure to connect power only after all the installation is complete.
FACTORY
RESET
RETURN
RET
• Use only UL listed Class 2 AC 24V power transformer.
#24(0.22mm
2
)
#22(0.33mm
2
)
0.078
0.050
0.028
0.018
Notes
-23-
#20(0.52mm
2
)
#18(0.83mm
2
)
0.030
0.018
0.011
0.006
