Crestron 6508261 Panduan Instalasi - Halaman 2
Jelajahi secara online atau unduh pdf Panduan Instalasi untuk Rak dan Dudukan Crestron 6508261. Crestron 6508261 2 halaman. Mullion mount kit for ssw
4. Remove the backing from one side of the adhesive pad. After aligning the pad with
the rear of the mullion mount, carefully attach the pad to the mount, starting with
the bottom. Firmly press the pad to the mount to ensure proper adhesion and to
ensure that any trapped air bubbles are eliminated.
CAUTION: The adhesive on both sides of the pad is high-strength bond. Once
the adhesive comes in contact with a surface, it cannot be easily removed.
5. After thoroughly cleaning the mounting surface, use a level (not included) to
carefully tape a horizontal reference line on the mounting surface.
6. Remove the backing from the other side of the adhesive pad. Then, hold the
mullion mount at a 45-degree angle to the mounting surface, and then carefully
align the lower edge of the mount with the taped reference line. Do not allow the
adhesive on the rear of the mount to come in contact with the mounting surface.
7. Once the mullion mount is level and aligned with the taped reference line, carefully
attach the mount to the mounting surface, starting with the bottom near the taped
reference line. Firmly press the mount to the surface to ensure proper adhesion and
to ensure that any trapped air bubbles are eliminated.
Attaching the Mullion Mount to the Mounting Surface
Glass
surface
Mullion mount
(with adhesive)
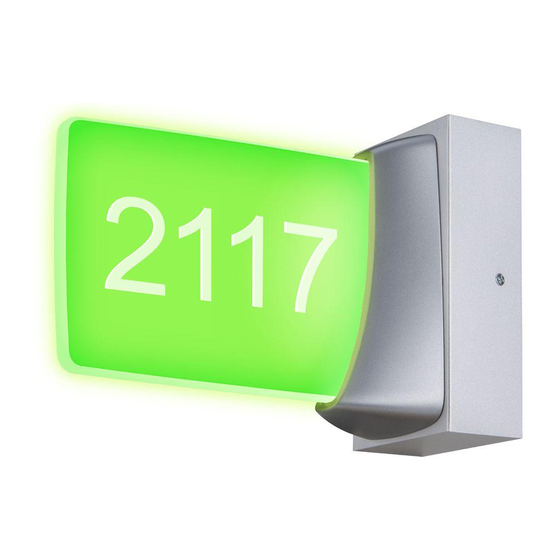
8. Align the two holes on the acrylic face with the mounting posts on the SSW rear
assembly, and then push the acrylic face into the assembly so that the holes
completely engage the posts. The acrylic face stays in place once it is hung onto
the posts. Then, use the two 4-40 x 1/2" SEMS screws (included with the SSW)
and a Phillips screwdriver to secure the acrylic face to the posts. Remove the
plastic lm from the acrylic face once it is secured.
9. Carefully slide the SSW's bezel over the acrylic face and across the sign until the
bezel magnetically locks into place.
Completing the Installation
Mounting
posts (2)
Screws (2):
4-40 x 1/2"
SEMS
SSW
SSW
bezel
acrylic face
The product warranty can be found at www.crestron.com/warranty.
The speci c patents that cover Crestron products are listed at patents.crestron.com.
Certain Crestron products contain open source software. For speci c information, please visit www.crestron.com/opensource.
Crestron, the Crestron logo, and Cresnet are either trademarks or registered trademarks of Crestron Electronics, Inc. in the United States and/or other countries. Other trademarks, registered trademarks, and trade names may be used in this document to refer to either the entities claiming the marks and names or their
products. Crestron disclaims any proprietary interest in the marks and names of others. Crestron is not responsible for errors in typography or photography.
This document was written by the Technical Publications department at Crestron.
©2017 Crestron Electronics, Inc.
Crestron Electronics, Inc.
Installation Guide - DOC. 7974C
15 Volvo Drive Rockleigh, NJ 07647
Tel: 888.CRESTRON
Fax: 201.767.7576
Speci cations subject to
www.crestron.com
change without notice.
(2048294)
06.17