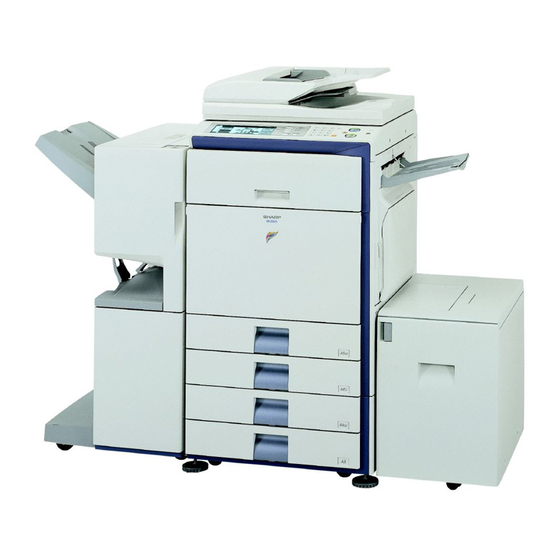
Sharp MX-2300N Guide Panduan Pengaturan Perangkat Lunak - Halaman 41
Jelajahi secara online atau unduh pdf Panduan Pengaturan Perangkat Lunak untuk Semua dalam Satu Printer Sharp MX-2300N Guide. Sharp MX-2300N Guide 48 halaman. Sharp mx-2700n, mx-2300n mfp - scan to e-mail instructions
Juga untuk Sharp MX-2300N Guide: Spesifikasi (2 halaman), Panduan Pemecahan Masalah (44 halaman), Panduan Keselamatan (28 halaman), Manual Pengarsipan Dokumen (47 halaman), Petunjuk Pindai ke Email (7 halaman)

10
Select the PPD file.
(1) Click the PPD file for your model.
(2) Click the [Select] button.
• If the above dialog box does not appear and you
return to the "Chooser" dialog box, follow these
steps to select the PPD file manually.
(1) Make sure that the machine is selected in the
"Select a Post Script Printer" list, and then click
the [Setup] button followed by the [Select PPD]
button.
(2) Select the PPD file for your model and click the
[Open] button.
(3) Click the [OK] button.
• The PPD file is installed in the [Printer Descriptions]
folder in the [Extensions] folder.
11
Make sure that the machine is selected
in the "Select a PostScript Printer" list
and then click the [Setup] button.
12
Click the [Configure] button.
To automatically configure the settings based on the
installed machine options that are detected, click the
[Auto Setup] button.
13
Select the machine configuration.
(1)
(2)
(1) Select the options that are installed on
the machine.
(2) Select [Options 2] from the menu to
change the screen and continue
selecting the options that have been
installed on the machine.
In the [Options 2] screen, select whether or not a
"Right Tray" is installed.
(3) Click the [OK] button.
You can check the options that are installed on the
machine by printing out the "All Custom Setting List" in
the system settings. Follow these steps to print the "All
Custom Setting List":
Press the [SYSTEM SETTINGS] key, touch the [List
Print (User)] key, and then touch the [All Custom
Setting List] key.
14
Click the [OK] button in the window of
step 12 to close the window.
15
Click the close box (
"Chooser".
This completes the configuration of the printer
driver.
You can install the screen fonts from the "PRINTER
UTILITIES" CD-ROM that accompanies the PS3
expansion kit. See "INSTALLING THE PS DISPLAY
FONTS" (page 40).
MAC OS 9.0 TO 9.2.2
(2)
(1)
(3)
) to close the
39
