Digital Acoustics IP7-FX Panduan Memulai - Halaman 4
Jelajahi secara online atau unduh pdf Panduan Memulai untuk Sistem interkom Digital Acoustics IP7-FX. Digital Acoustics IP7-FX 4 halaman. Talkmaster
Juga untuk Digital Acoustics IP7-FX: Panduan Memulai (4 halaman)
Configuration tab
• If Endpoint Defaults have been setup, click the Defaults button to copy
them in. Any of the following values that have been defaulted do not have to
be modified
• Select Client from the dropdown to configure the device to connect to
TalkMaster FOCUS.
• Enter a descriptive name into the Location Name field
• Check the DHCP option or uncheck it to enter a Static IP for the IP7-FX
• If the Endpoint will connect to this TalkMaster Server, check the Authorized
IP Endpoint option
• Either select the Server IP from the dropdown or enter the IP Address of the
TalkMaster Server
• Enter the default port of 3000
Select the Options 1 tab
• If the IP7-FX relay will be used to activate an electronic door strike, select
Door Relay Output from the Relay Mode dropdown
• If a microphone was connected to the Line In connectors, select Line In
from the Microphone Input dropdown box
• Select the Use UDP/RTP option to use the UDP/RTP protocol for sending
and receiving audio instead of the TCP protocol
• Select this Supports Full Duplex Audio option to enable Full Duplex
operation instead of Half Duplex operation
o
In a half-duplex phone call, one party has their microphone active
while the other party has their speaker active. When a call is in
session, the TalkMaster operator determines who talks and who
listens. In half duplex mode, the IP7's volume will always be louder,
and the microphone gain will always be higher since no echo has to
be cancelled
In full duplex mode, both parties have their speaker and microphone
o
active at the same time. In full duplex mode, the IP7's volume will
always be softer, and the microphone gain will always be lower.
This is due to the algorithms used by the IP7 for echo cancellation
Select the Options 2 tab
• Audio Profile – Click the Set button next to Audio Profile and select the
None if using full duplex. Otherwise select the Half Duplex audio profile
• Press the Done button
Save the Settings
• Click the Save Settings button. The endpoint will reboot with the changes
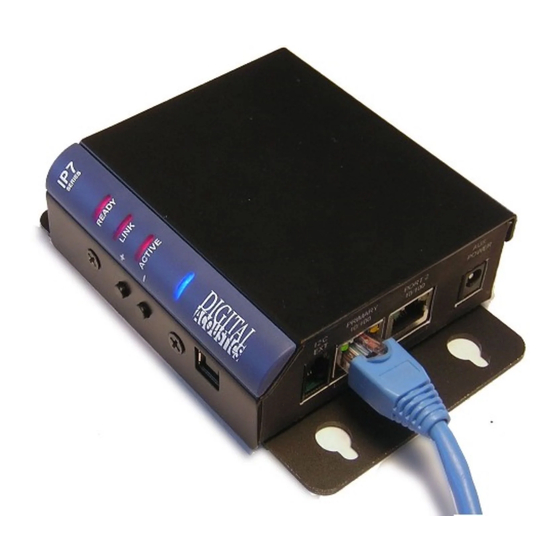
and register with TalkMaster Server within 30 seconds. The IP7-FX's red
READY LED will blink rapidly for 30 seconds and then turn solid. The IP7-
FX is now connected to the TalkMaster Server
.
Refer the TalkMaster Operator Console Reference Manual available at
https://www.digitalacoustics.com/support-2/software-documentation/
information on answering and making calls.
IP7 and Digital Acoustics® are trademarks of Digital Acoustics LLC.
Other trademarks are the property of their respective owners.
All Rights Reserved ©2019
www.digitalacoustics.com/support
Page 4 of 4
Installation and SIP Configuration
for
Digital Acoustics IP7-FX