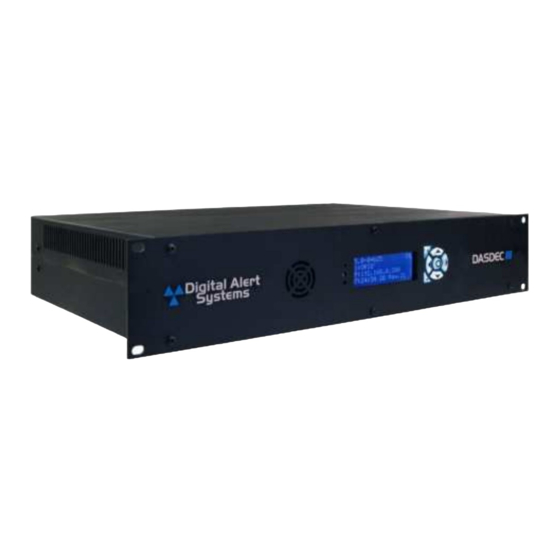
Digital Alert Systems DASDEC-III Panduan Pemasangan Perangkat Keras - Halaman 14
Jelajahi secara online atau unduh pdf Panduan Pemasangan Perangkat Keras untuk Sistem Keamanan Digital Alert Systems DASDEC-III. Digital Alert Systems DASDEC-III 16 halaman.

Digital Alert Systems
Direct Connection
1. Connect one end of the factory-supplied CAT-5 network crossover cable to the Main Network
Interface port at the back of the EAS device and the other end to the network interface port of
a standalone PC or laptop computer. Once the EAS platform is powered up and completely
booted, it can be accessed via a web browser launched from the directly connected, customer-
supplied standalone computer.
Attention
It is advised that you contact a network administrator before starting the following
procedure, as a valid IP address and subnet mask settings are required to complete this initial
setup. Working knowledge of how to change the network settings of the standalone computer
is also necessary.
Hub/Switch Connection
The primary difference between this type of connection and the direct connection method is the
inclusion of additional networking hardware.
1. Connect a standard CAT-5 network cable to the Main Network Interface port
at the back of the EAS device and the other end into the open port of a routing hub or
other network switching device.
2. Once the EAS device is powered up, booted, and operational, it should be accessible via
a web browser running on any remote computer on the local area network routed to
see the address 192.168.0.200.
Revision 1.0
DASDEC-III Hardware/Installation Guide
Direct Connection
Hub/Switch Connected
Page 14 of 16
