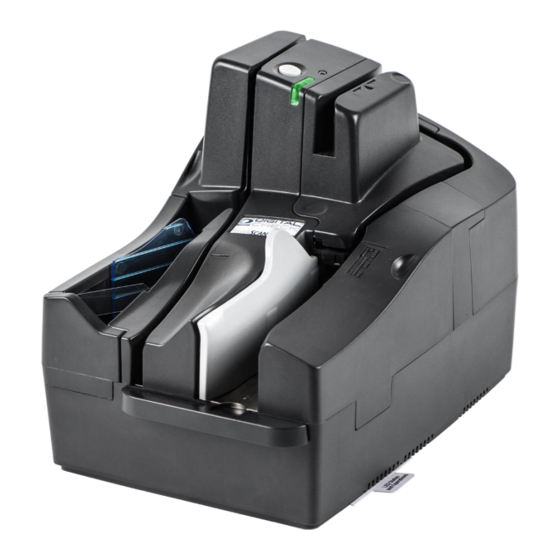
Digital Check TellerScan TS500 Panduan Instalasi Mudah
Jelajahi secara online atau unduh pdf Panduan Instalasi Mudah untuk Printer Digital Check TellerScan TS500. Digital Check TellerScan TS500 2 halaman. Capture scanner
Juga untuk Digital Check TellerScan TS500: Panduan Instalasi Mudah (2 halaman)

What's Included
▪ TellerScan Teller Transaction Printer (TTP)
Note: The TTP Printer does not include
a power supply. Power is supplied
when connected to a TS500 scanner.
Separate power supplies can be
purchased to enable the TTP Printer to
be used without the TS500 scanner.
▪ Jumper cables:
USB 2.0 jumper cable
Power jumper cable
▪ USB 2.0 cable
Printer Setup
● Set the TS500 check scanner on the printer
as shown. The scanner simply sits on top of the
printer platform and after it has been aligned, it
will remain secured on the platform.
TellerScan
TS500 TTP Easy Installation Guide
®
Connect the USB and Power Cables
● Connect the TS500 scanner and the TTP
printer to each other using the included USB
and power jumper cables.
● Connect the standard USB 2.0 cable (also
included with the TellerScan TS500 scanner) to
the TS500 scanner, then to the PC.
● Connect the power supply (included with the
TellerScan TS500 scanner or purchased
separately when used without the TS500) to the
TTP printer, then into an outlet.
www.digitalcheck.com
Loading or Replacing the Paper Roll
● Pull out the printer tray and lift up on printer
cover to access the internal paper roll housing.
Place the roll into the printer and unroll the
paper in the "underhand" method as shown.
Rev 073117
