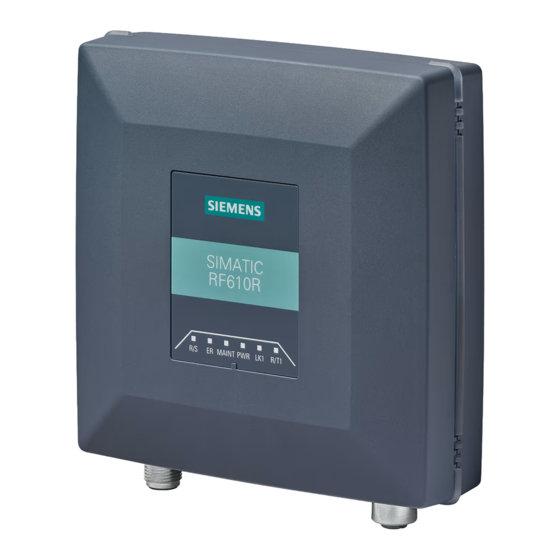
Siemens SIMATIC RF650R Memulai - Halaman 2
Jelajahi secara online atau unduh pdf Memulai untuk Peralatan Industri Siemens SIMATIC RF650R. Siemens SIMATIC RF650R 2 halaman.
Juga untuk Siemens SIMATIC RF650R: Memulai (27 halaman)

Assigning the IP address / device name
The RF650R reader ships from the factory with the IP address "192.168.0.254". In the
factory settings, the RF680R and RF685R readers are set to DHCP.
If you want to assign a different IP address to the reader, you require the Primary Setup
Tool, version V4.2 or higher. You will find the program on the accompanying DVD. You
can configure the RF680R and RF685R readers either using STEP 7 Basic / Professional
(TIA Portal) as of version 13.
Follow the steps below to assign a new, unique IP address and a unique device name to
the reader:
1.
Start the Primary Setup Tool with "Start > All Programs > Siemens
Automation > SIMATIC > Primary Setup Tool".
2.
In the menu bar under "Settings > Set PG/PG interface...", select the reader
with which the PC is connected and confirm with "OK".
3.
Click on the
symbol in the toolbar.
A dialog box opens with the information that a device was found in the
network.
4.
Click on the "+" character beside the folder symbol in the structure tree and
click the entry "Ind. Ethernet interface".
5.
To assign the reader a new IP address, select the "Assign IP parameters"
radio button.
6.
Enter a new, unique IP address for the reader in the "IP address" input box.
7.
Enter the subnet mask of your network in the "Subnet mask" input box.
8.
Click on "Assign name" to assign a unique device name to the reader.
9.
Click the
symbol to transfer the settings to the reader.
10.
Confirm the following dialog box with "Yes".
11.
Check the setting by searching for the reader again.
12.
Make sure that your PC / PG is located in the same address range.
Starting Web Based Management (WBM)
Follow the steps below to start the WBM:
1.
Start your Web browser.
You can use the following Web browsers: Microsoft Internet Explorer V9 or
higher, Mozilla Firefox V30 or higher and Google Chrome V36 or higher.
2.
Enter the IP address of the reader in the address box of your browser.
3.
Confirm your entry by pressing the <Enter> key.
Configuring the read point
Follow the steps below to configure the read point:
1.
In the "Settings - Read points" menu item, configure the antenna and the
antenna cable. To do this, select the connected antenna in the "Gain" drop-
down list and the type designation of the cable in the "Cable loss" drop-down
list or enter the values of the components in the relevant input boxes.
2.
Click the
symbol to transfer the configuration to the reader.
Adjusting the antenna
Follow the steps below to optimize the antenna adjustment:
1.
Position the object fitted with a transponder and to be identified at the
required read point.
2.
Align the reader or the antenna so that its front points in the direction of the
object (transponder) to be identified.
When using linear antennas, make sure the polarization direction is correct.
3.
In the "Settings - Adjust antenna" menu item, select the connected antenna
and click the "Start adjustment" button.
4.
"
"
In the
RSSI display
area, you can see the current (light blue) and maximum
reached (dark blue) RSSI values.
NOTE
Transponder is not identified
If no transponder is identified, first increase the radiated power as
described in the following section. Then repeat the antenna adjustment.
5.
Optimize the antenna adjustment until the maximum possible RSSI value is
reached.
6.
Secure the antenna.
Detecting the activation power
Follow the steps below to detect the activation power:
1.
In the "Settings - Activation power" menu item, select the connected antenna
and click the "Start measurement" button.
2.
In the "Min. power" column of the transponder list, you can see the required
activation power. The value "Min. power" of the transponder last selected in
the transponder list is automatically transferred to the "Accept power" box
with 2 dB added.
NOTE
Optimizing the radiated power
The value entered automatically in the "Accept power" box corresponds to
the minimum value with which the transponder was identified by the
antenna (Min. power) plus a power reserve of 2 dB. This value serves as a
guideline and you can adapt it. To be sure that the antenna reliably detects
the transponders regularly, we recommend that you accept the
automatically adapted default value.
3.
Click the "Apply" button to transfer the value entered in the "Radiated power"
input box of the "Settings - Read points" menu item.
4.
symbol to transfer the configuration to the reader.
Click the
Siemens AG, Division PD, Postfach 48 48,
© Siemens AG 2014, release 10/2014
90026 Nürnberg, Germany
