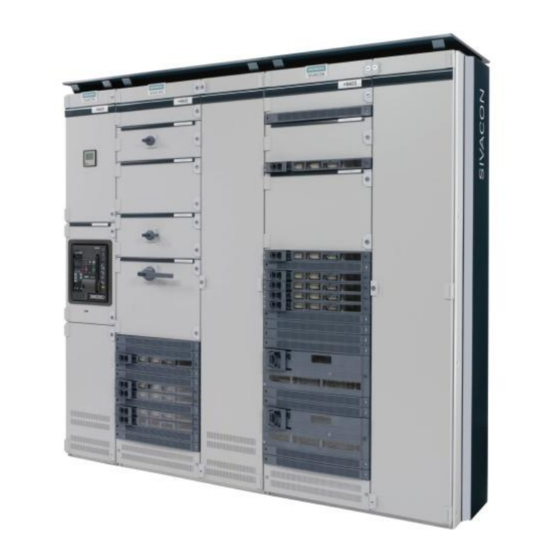
Siemens SIVACON S 8PQ Series Panduan Petunjuk Pengoperasian - Halaman 18
Jelajahi secara online atau unduh pdf Panduan Petunjuk Pengoperasian untuk Peralatan Industri Siemens SIVACON S 8PQ Series. Siemens SIVACON S 8PQ Series 40 halaman. Design-verified low-voltage switchboard
Juga untuk Siemens SIVACON S 8PQ Series: Panduan Petunjuk Pengoperasian (11 halaman)

- 1. Table of Contents
- 2. Sivacon Bauartgeprüfte Niederspannungsschaltanlage S8 - Felder mit Abzweigen in Einschubtechnik Design-Verified Low-Voltage Switchboard S8- Cubicles with Feeders in Withdrawable Design Betriebsanleitung / Operating Instructions Bestell-Nr. / Order No.: 8P
- 3. Description of the MCC Cubicle
- 4. Electrical Connections
2.2 Elektrische Anschlüsse
2.2.1 Kabelraum Frontanschluss
2.2.1.1 Kabelanschluss Hauptstromkreis
Kabel für die Hauptstromkreise in den Kabelraum einführen und mit
Schellen an den rechts im Kabelraum liegenden Kabeltragschienen
befestigen (siehe Betriebsanleitung 8PQ9800-1AA45). Beim Ausfor-
men und Ablängen der Kabel darauf achten, dass unnötige Zug-
oder Schubkräfte auf die Anschlussplatte vermieden werden.
Freiflächen für die Kabeleinführung siehe Betriebsanleitung
8PQ9800-0AA12 Abschnitt 2.1.
Die Außenleiter L1, L2, L3 entsprechend dem Stromlaufplan an die
feststehenden, gekennzeichneten Anschlussstücke der Anschluss-
platte mit Sechkantschrauben anschließen.
Achtung
Beim Aufbringen des Drehmomentes auf der Mut-
ternseite ist am Schraubenkopf gegenzuhalten!
Eine Unterteilung entsprechend Form 4b kann mit Hilfe von Falten-
bälgen über dem Kabelanschluss erreicht werden. Den Faltenbalg
bei Anschluss von Einzelkabeln je Anschlusslasche vor dem
Aufquetschen des Kabelschuhs überziehen. Nach Anschluss des
Kabels an die Lasche der Anschlussplatte wird der Faltenbalg über
den Kabelschuh und bei Anschluss in der Anlage von vorn über den
Kragen am Anschlussterminal gezogen. Anschließend wird das
kabelseitige Ende soweit nachgeschoben, dass das Ende auf der
Lasche nicht zurückrutscht. Bei Anschluss in der Anlage von hinten
wird der Faltenbalg direkt auf der Schiene mit einem Kabelband
befestigt.
Sitzt der Faltenbalg nicht fest auf dem Kabel, so ist er mit Kabelband
zu fixieren. Bei Anschluss von zwei Kabeln pro Anschlusslasche ist
es erforderlich, die kabelseitige Tülle des Faltenbalgs im ersten Ring
abzuschneiden. Nicht verwendete Anschlusslaschen sind mit einer
Verschraubung zu versehen und mit einem mit Kabelband fixierten
Faltenbalg zu abzudecken.
Der Kabelanschluss des PE-Leiters erfolgt an der vertikalen PE-
Schiene mit Universal-Leiter-Anschlussklemmen oder Kabelschuhen.
Der Kabelanschluss des N-Leiters (bei 3-poligen Einschüben) erfolgt
an die vertikale N-Schiene im Kabelanschlussraum mit Kabelschu-
hen (mögliche Anschlussquerschnitte und Anziehdrehmomente siehe
Abschnitt 2.2.1.2, Ausführung der Verschraubungen nach Betriebs-
anleitung 8PQ9800-1AA45).
16
2.2 Electrical Connections
2.2.1 Cable compartment, front access
2.2.1.1 Cable connection, main circuit
Feed cables for main circuits into the cable compartment and fasten
with clips to cable brackets on the right in the cable compartment (see
Operating Instructions 8PQ9800-1AA45). When forming cables and
cutting to length, avoid unnecessary tensile or thrust forces on the
connecting plate.
Free space required for cable entry, see Operating Instructions
8PQ9800-0AA12, section 2.1.
Connect the phase conductors L1, L2, L3 in accordance with the
circuit diagram to the fixed terminal pieces on marked terminals on the
terminal plate with hexagonal screws.
Notice
When applying torque to the nut, the screw head
must be pressed firmly in the opposite direction!
Division according to form 4b can be achieved with the aid of bellows
over the cable connection. When connecting individual cables, push
the bellows over each terminal lug before crimping on the cable lug.
After connecting the cable to the lug on the plate, the bellows are
pushed over the cable lug and for cable connection from front over the
flange at the terminal block. The cable-side end is then pushed up
until the opposite end on the link does not slip back from the plate.
The bellows are to fasten with cable strips directly on the bar at
switchboards with connections from rear.
If the bellows are not firmly on the cable, they must be fixed with cable
strips. If more than two cables per terminal lug are connected, the
cable-side sleeve of the bellows must be cut off at the first ring.
Not used terminals must be bolted and covered by a bellow that is
fixed with a cable strip.
The cable connection of PE- conductor to the vertical PE-bar is car-
ried out with universal-conductor-terminals or cable lugs. The N-
conductor (if 3-pole withdrawable units) must be connected to the
vertical N-bar in the cable connection compartment (possible cable
cross-sections and tightening torques see section 2.2.1.2, execute the
screw connection according operating instruction 8PQ9800-1AA45).
Klemmen Steuerstromkreis
Control circuit terminals
Klemmen Hauptstromkreis (bis 250A)
Main circuit terminals (up to 250A)
8PQ9800-3AA48
