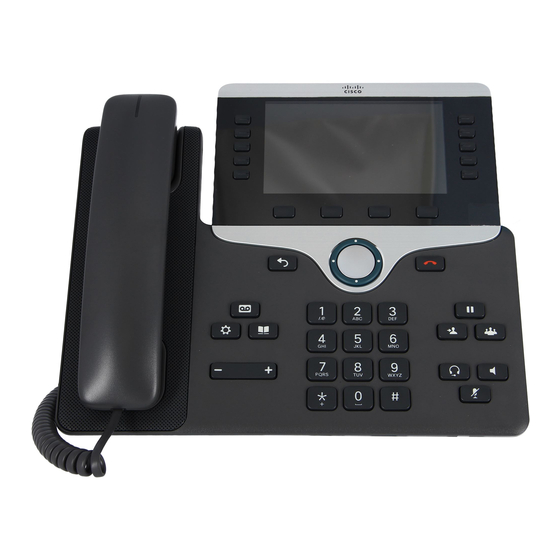
Cisco 6861 Panduan Penyebaran - Halaman 25
Jelajahi secara online atau unduh pdf Panduan Penyebaran untuk Telepon IP Cisco 6861. Cisco 6861 33 halaman. Multiplatform phones wireless lan
Juga untuk Cisco 6861: Panduan Instalasi (39 halaman), Panduan Memulai Cepat (2 halaman)

Once you complete the AP information, you can save the settings as a profile or connect the phone to the AP.
When you saved the AP as a profile, you can connect the phone to the saved profile later.
You can save up to 4 profiles to the phone. If all the profiles have AP information configured, the phone pops
out an alert message and prompts you to choose replacing a certain profile.
•
Automatically connect to a previously connected AP
When using WLAN type, the phone always tries to recover connection with the last connected AP. In case that
the phone is powered off or the AP is shut down, the phone tries to reconnect with the last connected AP first,
and will try the other WLAN profiles when fails. The sequence that the phone tries to connect is from profile 1
to profile 4.
Wireless LAN with WPS (on Phone Screen)
The phone supports connecting to a wireless network with WPS. WPS enables the phone to connect to an AP without
inputting detailed AP parameters. The WPS connection process is only available on the phone screen menu. There are two
ways to transfer secure data with the desired AP: PBC (press button mode) and PIN(pin code mode).
•
Set phone to work in WPS type
Go to Network configuration > Wi-Fi configuration. Set Wi-Fi type to WPS using the selection button and
press Set. Then Push button configuration and PIN configuration are displayed.
•
PBC mode
Select Push button configuration and follow the onscreen instructions. Press the WPS key on the AP and
press Continue on the phone. The phone starts negotiating with the AP. The process lasts about 2 minutes. The
connection status will display on the phone screen.
25
Cisco IP Phone 6861 Multiplatform Phones Wireless LAN Deployment Guide
