Cisco 7821 Panduan Pengguna - Halaman 3

Jelajahi secara online atau unduh pdf Panduan Pengguna untuk Telepon IP Cisco 7821. Cisco 7821 5 halaman. Connaught
Juga untuk Cisco 7821: Catatan Rilis (16 halaman), Panduan Memulai Cepat (2 halaman), Panduan Pengguna (18 halaman), Panduan Referensi Cepat (4 halaman), Referensi Cepat (4 halaman), Instalasi Cepat & Panduan Pengguna (12 halaman), Panduan Referensi (11 halaman), Panduan Memulai Cepat (4 halaman), Panduan Pengguna (10 halaman), Manual (27 halaman), Panduan Pengguna (20 halaman), Panduan Referensi Cepat Karyawan (4 halaman), Panduan Utama Migrasi Firmware (31 halaman), Manual (43 halaman), Panduan Memulai Cepat (6 halaman), Kartu Referensi Cepat (2 halaman), Panduan Memulai Cepat (2 halaman), Panduan Instalasi (39 halaman), Manual (20 halaman), Panduan Konfigurasi Ulang (2 halaman), Panduan Memulai Cepat (7 halaman), Panduan Instalasi Cepat (12 halaman), Panduan Pengguna (27 halaman), Panduan Pengguna (2 halaman), Memulai (2 halaman), Panduan Memulai Cepat (2 halaman)
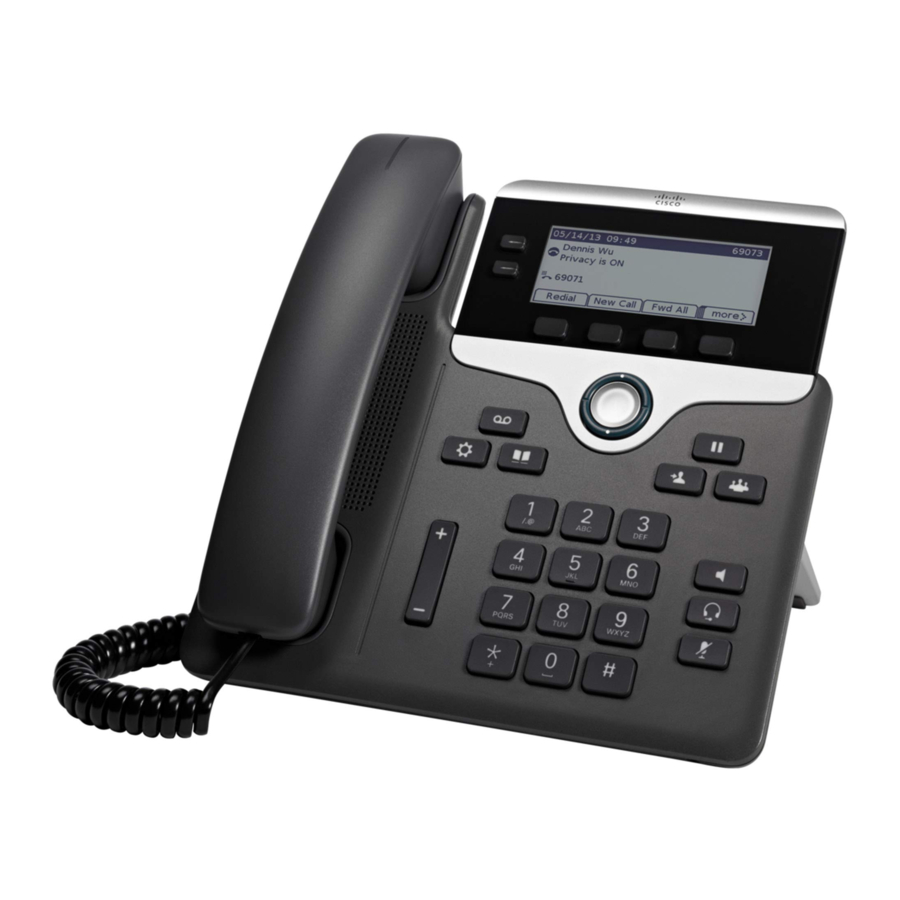
Cisco 7821 Panduan Pengguna
Scroll to a listing and press the Select
button in the Navigation pad.
Press Select button again.
To Exit:
Press the Exit softkey.
Personal Directory
To access the Personal Directory:
▪ Press Contacts button.
▪ Select Personal Directory.
▪ Enter User ID:
▪ Enter Password:
▪ Press Submit softkey.
To Log Out:
▪ Select Log Out | OK.
Add a Personal Directory Entry:
▪ Press the Contacts button.
▪ Sign in to Personal Directory.
▪ Select Personal Address Book.
▪ Press the Submit softkey.
▪ Press the New softkey.
▪ Enter the nickname information.
▪ Press the Phones softkey and enter
the phone numbers.
▪ Press the Submit softkey to add the
entry to your personal directory.
Search for an Entry in Personal Directory:
▪ Press the Contacts button.
▪ Sign in to Personal Directory.
▪ Select Personal Address Book.
▪ Select one, all, or none of these:
–Last Name, First Name, Nickname
▪ Enter the search criteria information,
then press the Submit softkey.

Call History

Press Applications button.
Select Recents.
Select line to view.
Note: You can view approximately 150
missed or all calls.
Mobility
Single Number Reach
▪ To set up, see Managing Your Phone
from the web section on page 5.
Enabling Mobility
To turn on or off Mobility from your desktop
phone:
▪ Press Mobility button or softkey to
display current remote status.
▪ Highlight Enable Mobile Connect
option, then press Select softkey to
change status.
Note: To disable Move to Mobile, follow
step 1 above, then select Disable
Mobile Connect and press Select
softkey.
▪ Press the Exit softkey.
Send Call to Mobile Device
To transfer an active phone call from your
desk phone to your mobile phone:
▪ While on an active call at your desk
phone, press the Mobility softkey.
▪ Select Send Call to Mobile, then press
Select softkey.
▪ After a few seconds your mobile phone
will ring. Answer the call.
▪ You may be prompted to press any digit
to accept the call.
▪ The transferred call should now be
active on your mobile phone.
▪ To end the call, simply hang up the call
on your mobile phone. This will place the
call on hold at your desk phone. Press
the line button, of the held call, to
resume the call at your desk phone. If
you do not resume the call at your desk
phone, the call will automatically end
after 5 seconds.
Send Mobile Call back to Desk Phone
To transfer a mobile connect call from your
mobile phone back to your desk phone:
Note: This option is only available for calls
that were previously transferred to a
mobile phone using Send to Mobile.
▪ Verify the line on your phone is
illuminated red, indicating that you
currently have a call transferred using
Send to Mobile.
▪ End the call on your mobile device. The
system will automatically put the call on
hold at your desk phone.
▪ Press the line key associated with the
call that is on hold.
Note: Typically a line will flash red if it has
a call on hold.
The call should now be active on your
desk phone.
Note: If you do not answer the call on hold
within 5 seconds the call will end.
Voicemail
Setting up Voicemail
Press the Messages button.
3