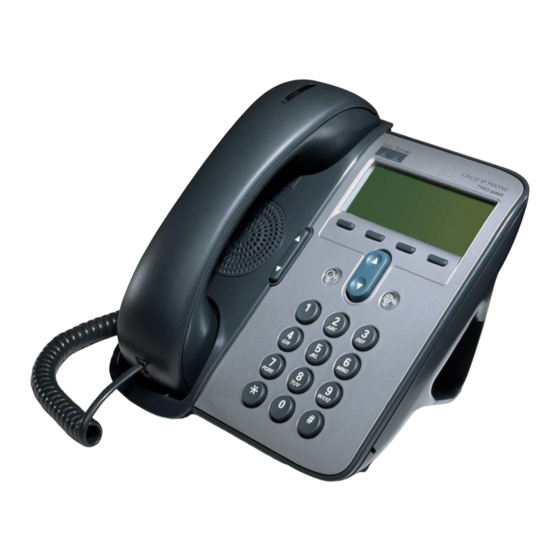
Changing the Ringer Type
Press the Menu button
Select Settings
Select User Preferences
Select Rings
Press the Select softkey
Press the Scroll key to view
different ring types
Press Play softkey to hear ring
types
Press Select and then Save softkey
to choose ring
Adjusting the Ringer Volume
Press the Volume key to hear a
sample ring
Press the up or down Volume key to
adjust the volume
Adjusting the Handset Volume
While on a call, press the up or down
Volume button
Press the Save softkey
Placing a Call
You can place a call with the Cisco IP
Phone 7911 in any of the following ways:
Life the handset
Dial the number 0 to get an outside
line
Redialling the Last Number Dialled
Lift the handset
Press the Redial softkey
Muting a Call
While on a call, you can mute the
handset press the Monitor softkey
To turn off mute press the MonOff
softkey again
Cisco 7911 IP Phone Guide
Placing a Call on Hold
While on a call you can place the
call on hold, so that the caller will
hear OnHoldMusic and you
cannot hear the caller
Press the Hold softkey to place the
call on hold and press again to
resume
Transferring a Call
Transfer allows you to send a call to
another extension
To perform a transfer:
Press the Transfer softkey.
Dial the number to which you
wish to transfer the call
Listen to ringing (if so desired)
Announce the caller (if so desired)
Press Transfer soft key again
Hang up
If the party refuses the call
Press the Resume softkey to
return to the original call.
Conference Calling
Conferencing a call allows up to 6
different people on one phone call
While on line with first caller,
press Confrm softkey
If not displayed on the softkeys,
press more first
Enter new phone number
When the call connects, press
Confrm softkey again
You can repeat these steps until 6
people are in the call
Call Pickup
Call pickup allows you to answer phone
calls within your predefined Call Pickup
group
If you hear the phone ringing that
you want to answer, select More,
select PickUp, then your phone
will start ringing on your handset,
press Answer or lift the handset to
answer the phone call
Forwarding All Calls
Forward all Calls allow you to redirect
all of calls to another phone.
Press the CFwdAll soft key
Listen for two beeps
Enter the number to which you
want to forward calls
Look for flashing right arrow to
appear in upper-right corner of
LCD (confirmation)
Look for message on LCD with the
number your calls are forwarded to
To cancel forwarding of all calls
Press the CFwdAll soft key
Listen for one beep
Viewing Missed Calls
Press the Menu button
Select the Directories option
Select the Missed Calls option
Press the Exit softkey twice to leave this
screen
Making Calls from a Corporate
Directory
Press the Menu button.
Navigate to the Directory option
and press the Select softkey
Use the scroll key to select the
Corporate Directory
Press the Select softkey to display
the directory
Use the scroll key to select the
search option
Use the numbers corresponding to
the letters on the dialling pad
Press the Dial softkey to dial
number
Setting Up Voice Mail
Press Messages softkey
Default password is "11223344"
Follow the guided instructions.
Accessing Voice Mail
Inside Office – your phone
Look for message waiting indicator
on handset
Press the Messages softkey
Enter your PIN (password)
followed by the"#"
Inside Office on other phone or Outside
Office
Press the Messages softkey (or dial
x2150 or 0 07 4631 2150)
Press "*"
Enter your ID (extension) followed
by the "#"
Enter your PIN (password)
followed by the "#"

