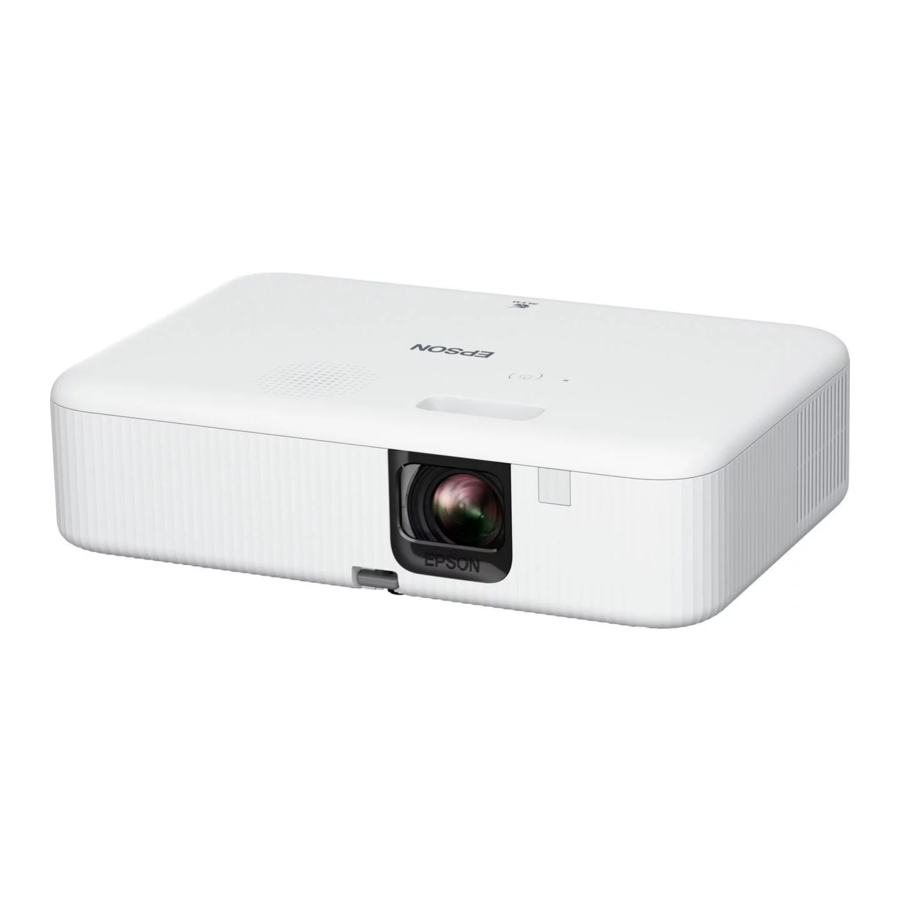
Epson CO-FH02 Pengaturan Cepat
Jelajahi secara online atau unduh pdf Pengaturan Cepat untuk Proyektor Epson CO-FH02. Epson CO-FH02 4 halaman. Multimedia projector
Juga untuk Epson CO-FH02: Panduan Memulai Cepat (12 halaman)

CO-FH02
Quick Setup
IMPORTANT: Before using this product, make sure you read these instructions
and the safety instructions in the online User's Guide.
Contents
Make sure your projector box includes all of these parts:
remote control
Turn on your equipment
1
Turn on your computer or video source.
2
Plug in the projector. The status light blinks, then remains lit for a few
seconds before turning off.
3
Install the batteries into both remote controls.
Projector
remote control
4
Press the
power button on the projector or projector remote control.
The projector beeps, the status light flashes blue, and then stays on.
Note: To shut down the projector, press the
the projector or projector remote control.
5
Follow the on-screen instructions to connect the streaming media player,
pair the Android TV remote control, and then set up Android TV.
Note: The default language of the projector menu system is English. To select
another language, press the
menu button on the projector remote control.
Use the directional pad and enter button to select Extended > Language,
then select your language. Press the
Projector
Android TV
®
remote control
Android TV
remote control
power button twice on
menu button to exit the menu system.
Connect the projector
Streaming media player
Connect the included streaming media player to your projector. To stream
content, make sure you have a Google
active streaming account and enter your login information as necessary for each
app.
Note: The first time you set up the projector, a screen prompts you to connect
the streaming media player.
1
Remove the side cover by pressing the
tab and sliding the cover towards the
rear of the projector.
2
Connect the HDMI extension cable to the
HDMI port and the USB cable to the USB
port, as shown.
3
Connect the HDMI and USB cables to the
streaming media player and fit it into the
port compartment.
4
Replace the side cover. The tab clicks
into place when the cover is fully
closed.
Video device or computer
Remove the side cover and connect an HDMI cable to the projector's HDMI
port. Replace the side cover and route the HDMI cable through the slot in the
back of the cover.
Note: You will have to remove the streaming media player in order to connect
another device. For more information on connecting the projector to your
computer or other devices (camera, USB flash drive, etc.), see the online User's
Guide.
Adjust the image
1
Make sure the projector is turned on and displaying an image.
Note: If you still see a blank screen or have other display problems, see
the troubleshooting tips.
2
To raise the image, press the foot release button and lift the front of the
projector. Release the button to lock the foot in position.
account, an internet connection, and an
®
