Epson EasyMP Network Projection Panduan Pengoperasian - Halaman 14

Jelajahi secara online atau unduh pdf Panduan Pengoperasian untuk Proyektor Epson EasyMP Network Projection. Epson EasyMP Network Projection 50 halaman. Multimedia projector
Juga untuk Epson EasyMP Network Projection: Panduan Pengoperasian (47 halaman), Petunjuk Pembaruan (4 halaman), Panduan Pengoperasian (50 halaman), Panduan Pengoperasian (50 halaman), Panduan Pengoperasian (47 halaman), Panduan Pengoperasian (40 halaman), Panduan Pengoperasian (48 halaman), Panduan Pengoperasian (47 halaman)
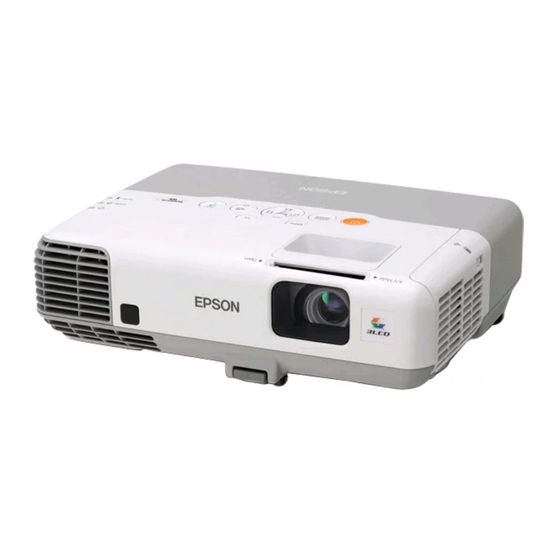
Epson EasyMP Network Projection Panduan Pengoperasian
Connecting to a Projector on a Network and Projecting
P
IP address (Advanced Connection Mode only)
The projector's IP address is displayed.
Q
Display
Select the display number (when Use multi-display is selected).
s "Projecting the Allocated Images"
p.31

Using the Toolbar

The toolbar is displayed on the computer screen after EasyMP Network
Projection starts and a connection is made with the projector. You can
use this toolbar to operate and make settings for the projector.
Select target projector
Click to limit the projector operated from the toolbar when
projecting from multiple projectors using the distribution
function or Multi-screen display. The indication below the
icon shows the projectors that can be controlled.
ALL indicates that all of the connected projectors can be
controlled.
For example, when "1, 3" is displayed, projectors No. 1 and
No. 3 can be controlled.
Click
to display the following screen.
A
Select the projector to be controlled.
14