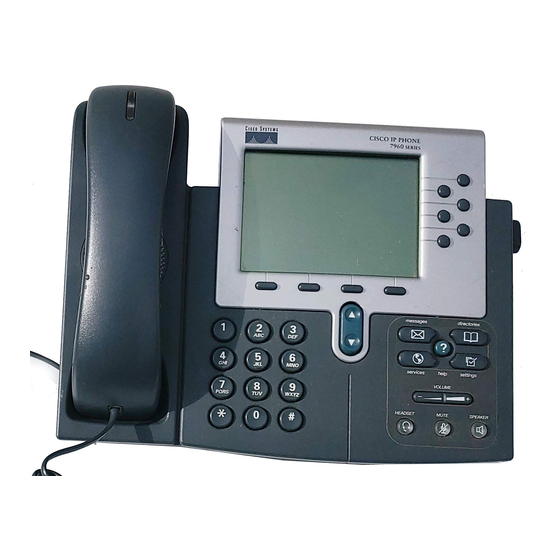
Cisco Cisco 7960 Panduan Pengguna - Halaman 14
Jelajahi secara online atau unduh pdf Panduan Pengguna untuk Telepon IP Cisco Cisco 7960. Cisco Cisco 7960 20 halaman. Ip phone & unity voicemail
Juga untuk Cisco Cisco 7960: Panduan Pengguna (19 halaman), Panduan Pengguna (12 halaman), Panduan Pengguna yang Disesuaikan (2 halaman), Manual (35 halaman), Panduan Pengguna (15 halaman), Panduan Instalasi dan Konfigurasi (10 halaman), Panduan Pengguna (23 halaman), Panduan Pengguna (14 halaman), Panduan Referensi (2 halaman), Panduan Referensi Cepat (2 halaman), Panduan Pengguna (28 halaman), Panduan Pengguna (16 halaman), Panduan Pengguna Cepat (2 halaman), Panduan Pengguna (9 halaman), Panduan Referensi (4 halaman), Panduan Memulai Cepat (12 halaman), Manual (8 halaman), Panduan Referensi Cepat (12 halaman), Panduan Pengguna (14 halaman), Panduan Referensi Cepat (12 halaman), Panduan Administrator (10 halaman), Panduan Pengguna (6 halaman), Panduan Pengguna Cepat (2 halaman), Panduan Referensi (17 halaman), Panduan Cepat (2 halaman), Panduan Pengguna (3 halaman), Panduan Pengguna Cepat (2 halaman), Panduan Instalasi Cepat (1 halaman), Manual (21 halaman), Panduan Pengguna (3 halaman), Memulai (50 halaman), Panduan Memulai Cepat (6 halaman), Panduan Memulai Cepat (2 halaman), Panduan Referensi Cepat (2 halaman), Panduan Memulai Cepat (2 halaman), Panduan Memulai (27 halaman), Panduan Referensi (3 halaman), Panduan Pengguna (12 halaman), Panduan Pengguna (12 halaman)

