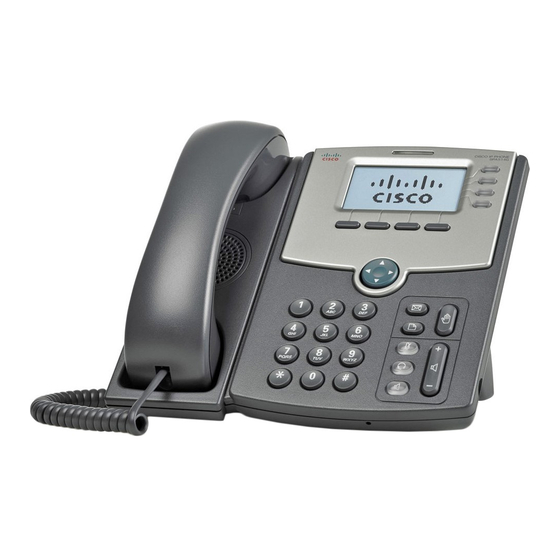
Cisco SPA 514G Panduan Pengguna - Halaman 20
Jelajahi secara online atau unduh pdf Panduan Pengguna untuk Telepon IP Cisco SPA 514G. Cisco SPA 514G 33 halaman. Vodafone one net
Juga untuk Cisco SPA 514G: Panduan Memulai Cepat (6 halaman)

Forwarding all calls to a single number
1. In the 'Call Forward' screen, scroll to 'CFWD All Number' and press 'edit'.
2. Enter the number you want to forward all calls to - for example, another extension number or an
external number – or enter '121' to forward calls to voicemail. If you want to forward calls to an
external number, make sure you enter any access or area codes (if applicable).
Note: If you need to enter a URL, press 'alpha' and then 'IP' before you enter the Call forwarding
information.
3. Press 'ok' and then 'save'.
Or.
1. Press 'cfwd' on the home screen and enter the number you want to forward calls to and press
'dial'.
2. To clear the 'all calls forwarded' setting, press '-cfwd' from the home screen.
Forwarding calls when your phone's busy
1. In the 'Call Forward' screen, scroll to 'CFWD Busy Number'.
2. Enter the number you want to forward all calls to - for example, another extension number or an
external number – or enter '121' to forward calls to voicemail. If you want to forward calls to an
external number, make sure you enter any access or area codes (if applicable).
3. Press 'ok' and then 'save'.
Forwarding calls when you don't answer
1. In the 'Call Forward' screen, scroll to 'CFWD No Ans Number'.
2. Enter the number you want to forward all calls to - for example, another extension number or an
external number – or enter '121' to forward calls to voicemail. If you want to forward calls to an
external number, make sure you enter any access or area codes (if applicable).
3. Press 'ok' and then 'save'.
Delaying Call forwarding when you don't answer
1. This setting is set by the One Net Application server and cannot be configured on the phone.
Ending Call forwarding options
1. Under 'Call Forward', scroll to the relevant call forwarding feature you want to change or remove.
2. Press 'edit' followed by 'clear'.
3. Press 'ok' and then 'save'.
Version 2.1
20 of 33
