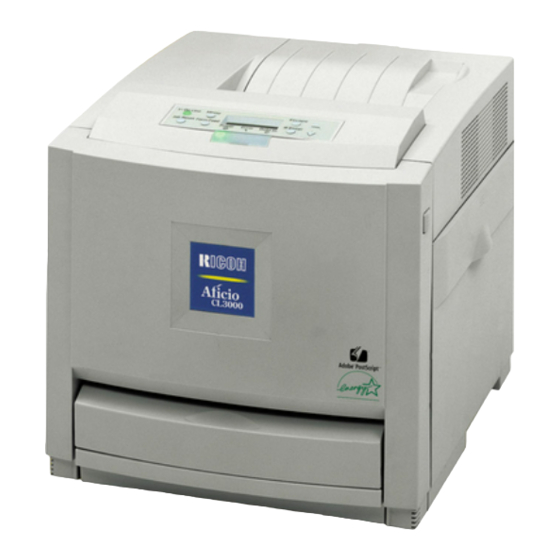
Ricoh PostScript 3 Panduan Petunjuk Pengoperasian - Halaman 8
Jelajahi secara online atau unduh pdf Panduan Petunjuk Pengoperasian untuk Printer Ricoh PostScript 3. Ricoh PostScript 3 30 halaman. For ricoh projector
Juga untuk Ricoh PostScript 3: Panduan Petunjuk Pengoperasian (30 halaman), Manual (49 halaman)

Using PostScript 3
F F F F
Check the sample print to confirm that the settings are correct.
If the settings are correct, see "Printing a Sample Print File" in the Printer Ref-
erence.
If not, you can delete the saved job. See "Deleting a Sample Print File" in the
1
Printer Reference.
How to Use Locked Print
Follow the procedures to print a document using the "Locked Print" function.
Note
❒ If the application has a collate option, make sure that it is not selected before
sending a print job. By default, locked print jobs are automatically collated by
the printer driver. If the collate option is selected in the application print dia-
log box, more prints than intended may be printed.
Windows 95/98/Me
A A A A
From an application, select the menu command to print.
The print dialog box appears.
B B B B
Open the Printer Properties to set the locked print.
C C C C
Click to select the [Setup] tab.
D D D D
Select [Locked Print] in [Job Type].
E E E E
Click [Details...].
F F F F
Enter the "User ID" in [User ID]. This can consist of up to eight alphanumeric
(a-z, A-Z, 0-9) characters. Then enter a password in [Password], up to four
digits.
Note
❒ Select this to identify the user associated with the job.
G G G G
Click [OK].
4
