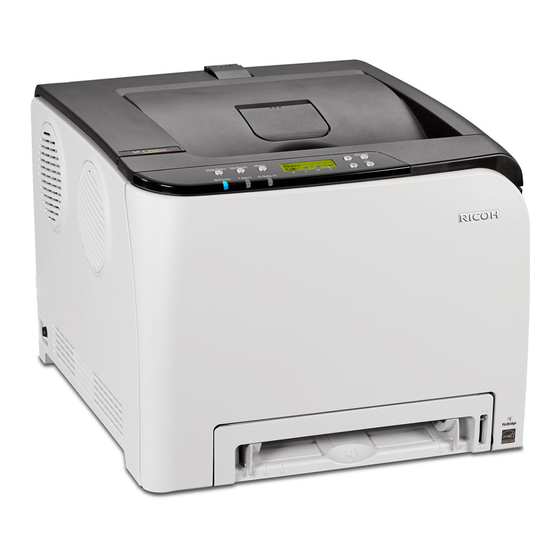
Ricoh SP C250DN Panduan Memulai - Halaman 31
Jelajahi secara online atau unduh pdf Panduan Memulai untuk Printer Ricoh SP C250DN. Ricoh SP C250DN 42 halaman. Color laser printers
Juga untuk Ricoh SP C250DN: Spesifikasi (4 halaman), Panduan Petunjuk Pengoperasian (48 halaman)

Appendix
E
creation, the steps for manually adding a port are outlined below.
Before proceeding, please check the following:
Printer power switch is On.
•
Network is connected and configured.
•
Printer's IP address is available. If the printer was previously configured, with IP address assigned, the
•
Configuration Report shows the address. See
the IP address on the printer's control panel. Press [Menu]
[IPv4 Configuration]
To add a new printer port, proceed as follows:
1. Click [Start] [Devices and Printers].
2. Right-click [RICOH SP C250DN PCL 6] icon.
3. Select [Printer properties].
Add New Port
If you would like to bypass the install wizard and have more control over printer port
[IP Address]. Write the IP address down. To exit, press [Menu].
RICOH SP C250DN/SP C252DN Color Laser Printers
Appendix B: Print Configuration
[Host Interface]
Getting Started Guide
Report. You can also view
[Network Settings]
31
