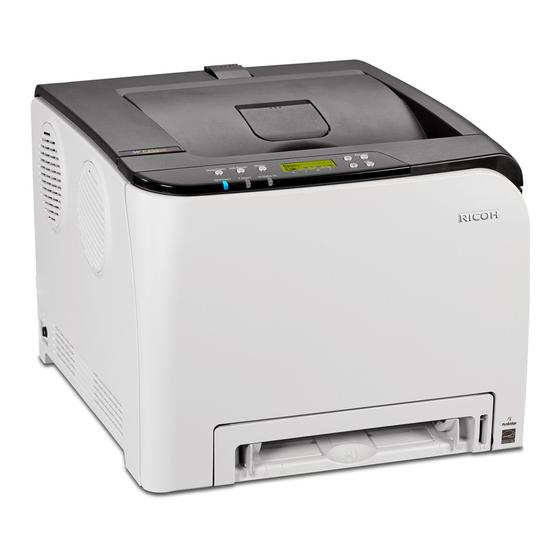
Ricoh SP C252DN Panduan Petunjuk Pengoperasian - Halaman 21
Jelajahi secara online atau unduh pdf Panduan Petunjuk Pengoperasian untuk Printer Ricoh SP C252DN. Ricoh SP C252DN 48 halaman. Color laser printers
Juga untuk Ricoh SP C252DN: Brosur & Spesifikasi (4 halaman), Panduan Memulai (42 halaman)

3.
Connect the machine and computer using a USB cable.
Connect the USB cable firmly.
4.
Turn on the power of the machine.
Found New Hardware Wizard starts, and USB Printing Support is installed automatically.
5.
In the [Found New Hardware] window, click [Locate and install driver software
(recommended)].
6.
Insert the provided CD-ROM into the computer's CD-ROM drive.
If the [AutoPlay] dialog box appears, click [Close].
7.
Select the name of the machine whose driver you want to install.
Check the location where the source files of the printer driver is stored.
If the CD-ROM drive is D, the source files are stored in the following locations:
• PCL 5c
32-bit driver D:\DRIVERS\PCL5C\XP_VISTA\(Language)\DISK1
64-bit driver D:\DRIVERS\PCL5C\X64\(Language)\DISK1
• PCL 6
32-bit driver D:\DRIVERS\PCL6\XP_VISTA\(Language)\DISK1
64-bit driver D:\DRIVERS\PCL6\X64\(Language)\DISK1
• PostScript 3
32-bit driver D:\DRIVERS\PS\XP_VISTA\(Language)\DISK1
64-bit driver D:\DRIVERS\PS\X64\(Language)\DISK1
For details about the languages supported in the printer drivers, see page 6 "Supported
languages".
8.
Click [Next].
The installation starts.
9.
Click [Close].
If the printer driver has already been installed and plug and play is enabled, the icon of the printer
connected to the "USB001" port is added to the [Printers], [Printers and Faxes], or [Devices and
Printers] window.
The number after "USB" varies depending on the number of printers connected.
Windows 7, Windows Server 2008 R2
1.
Quit all applications. (Do not close this manual.)
2.
Check that the power of the machine is off.
Installing the Printer Driver for a Local Connection
19
