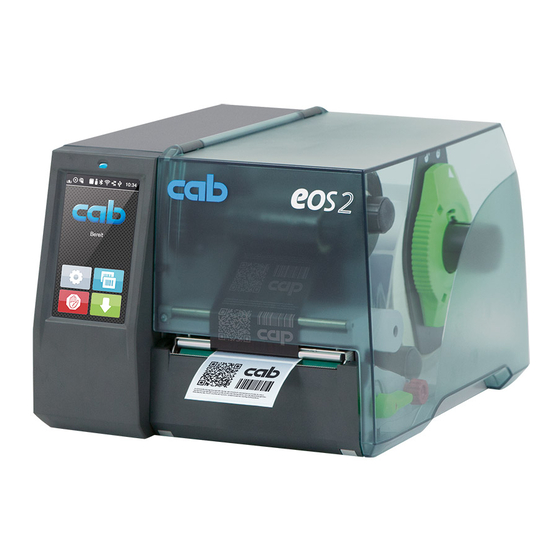
CAB EOS5 Panduan Servis - Halaman 10
Jelajahi secara online atau unduh pdf Panduan Servis untuk Pemotong CAB EOS5. CAB EOS5 20 halaman.
Juga untuk CAB EOS5: Panduan Operator (15 halaman)

2
Replacing Assembly Units
10
2.5
Replacing the Control Panel
Fig. 5
Removing / mounting the control panel
Removing
Remove the casing.
Unlock the control panel (3) at the latch (5) swing it away from the printer and remove it by lifting.
Unplug the connector of the display cable (4).
Mounting
Re-connect the cable (4).
Hook the slot (2) of the cover into the guide (1) and press the control panel against the printer until the latch (5)
clicks into place.
Mount the casing.
1
2
3
4
5
10
