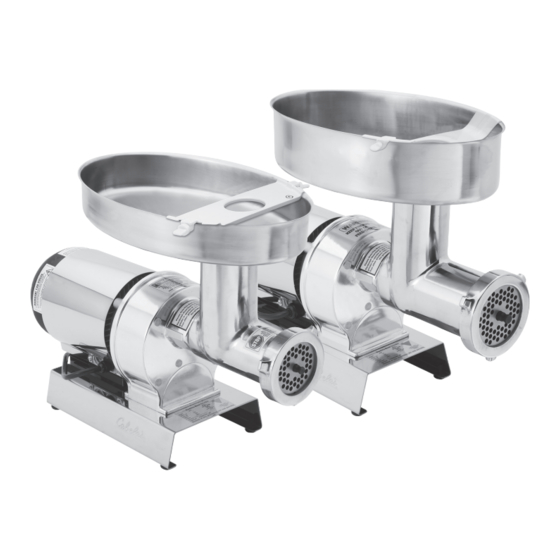
Cabela's 08-3201 Buku Instruksi - Halaman 9
Jelajahi secara online atau unduh pdf Buku Instruksi untuk Penggiling Daging Cabela's 08-3201. Cabela's 08-3201 13 halaman. Commercial grade electric grinder

STUFFING INSTRUCTIONS
WARNING!
Before cleaning, assembling or disassembling the Grinder,
make sure the PLUG IS REMOVED FROM THE OUTLET/POWER SOURCE!
ALWAYS unplug the Grinder when not in use.
1. After grinding the meat following
the "Grinding Instructions", mix the
ground meat with the sausage
seasonings.
2. Follow the "Stuffer Assembly
Instructions" or the "High-Speed
Stuffer Assembly Instructions" to
fully assemble the Grinder as a
Stuffer including the Tray and
Tray Guard.
NOTE:
While one person can
stuff sausage with this Grinder, it
is recommended that two people perform this operation. For best results when using the
High-Speed Stainless Steel 10 mm Stuffing Funnel do not grind the meat through the
4.5 mm Grinding Plate.
3. Place seasoned ground meat into the Tray. Do not overfill the Tray, place just
enough meat to leave the Feed Chute area open.
4. Slide a sausage casing over the Stuffing Funnel.
Information / Casing" section of this manual for more information.
5. Slide 4"-6" (10-15 cm) of casing from the end
of the Stuffing Funnel and tie a knot in the end
of the casing. If you are using large diameter
fibrous casing, hold the closed end of the casing
tightly against the end of the Stuffing Funnel
.
(Figure 17)
6. Make sure the Grinder is in the "OFF" position.
Attach the Grinder to the power supply.
7. Switch the Grinder to the forward "FWD"
position. Carefully start feeding ground meat into
the Feed Chute. ONLY USE THE STOMPER TO
PUSH MEAT INTO THE HEAD, DO NOT USE
YOUR FINGERS OR ANY OTHER OBJECT.
WARNING!
The Tray Guard
helps protect the user from serious
personal injury. NEVER
reach under or around the
Tray Guard. ALWAYS
use the Stomper to
feed and push meat
into the Grinder.
...INSTRUCTIONS CONTINUED ON NEXT PAGE
WARNING!
NEVER operate Grinder without the Tray and
the Tray Guard secured in place.
To avoid serious or fatal injury, NEVER reach
into any Grinder inlet.
ALWAYS use the Stomper to push meat
into the Grinder Head.
Read & fully understand all instructions
& warnings prior to use.
See the "Sausage
Stomper
Tray
FIGURE 17
Guard
Feed
Chute
HOT
DO NO T T OUCH!
The Gear Housing and the Motor Cover
may become HOT during operation. This is
normal. DO NOT touch these parts during
operation or until they cool after use.
-16-
GRINDER ASSEMBLY INSTRUCTIONS
WARNING!
make sure the PLUG IS REMOVED FROM THE OUTLET/POWER SOURCE!
ALWAYS unplug the Grinder when not in use.
1. Insert the Head into the Gear Housing
with the Feed Chute facing straight up. You
will need to line up the slot in the Head with
the Pin inside the Gear Housing. Be sure the
Head is seated fully into the Gear Housing
.
(Figure 1)
2. Tighten the Head Locking Knob to lock
the Head into place.
3. Insert the Auger, with the Auger Bearing
attached, into the Head
Auger Splines with the Drive Shaft of the
Grinder.
NOTE:
Periodically inspect the Auger
Bearing for wear. If the Auger Bearing is
worn excessively, replace it immediately or
Head damage could result.
4. Place the Knife onto the square portion
of the Auger Pin
of the Knife are facing outward.
5. Place one of the Grinder Plates onto the
Auger Pin; align the notch in the Grinder
Plate with the Pin in the Grinder Head.
6. Install the Front Ring Nut, DO NOT
OVERTIGHTEN. Turn the Front Ring Nut
until it makes contact with the Grinder Plate,
then make 1/4 turn more to tighten into
place.
...INSTRUCTIONS CONTINUED ON NEXT PAGE
WARNING!
Motor
Cover
Gear
Housing
NEVER operate Grinder without the Tray and
the Tray Guard secured in place.
To avoid serious or fatal injury, NEVER reach
into any Grinder inlet.
ALWAYS use the Stomper to push meat
into the Grinder Head.
Read & fully understand all instructions
& warnings prior to use.
Before cleaning, assembling or disassembling the Grinder,
Feed
Chute
Head
. Align the
(Figure 2)
. Be sure the blades
Auger Pin
(Figure 2)
Knife
-9-
FIGURE 1
Slot in Head
Gear Housing
Head Locking
Knob
FIGURE 2
Head
Auger Bearing
Auger Splines
Auger
Grinder Plate
Front Ring
Nut
NOTE! Be sure the blades
of the Knife are facing out.
