Epson Artisan 800 - All-in-One Printer Panduan Instalasi Jaringan - Halaman 12

Jelajahi secara online atau unduh pdf Panduan Instalasi Jaringan untuk Semua dalam Satu Printer Epson Artisan 800 - All-in-One Printer. Epson Artisan 800 - All-in-One Printer 29 halaman. Artisan 700/800 series
Juga untuk Epson Artisan 800 - All-in-One Printer: Panduan Instalasi Jaringan (41 halaman), Panduan Pengguna (34 halaman), Panduan Pengguna (38 halaman), Penggantian Kartrid (2 halaman), Spesifikasi (2 halaman), Panduan Memulai Cepat (8 halaman), Buletin Dukungan Produk (5 halaman), Informasi Pengaturan (3 halaman), Faq (4 halaman)
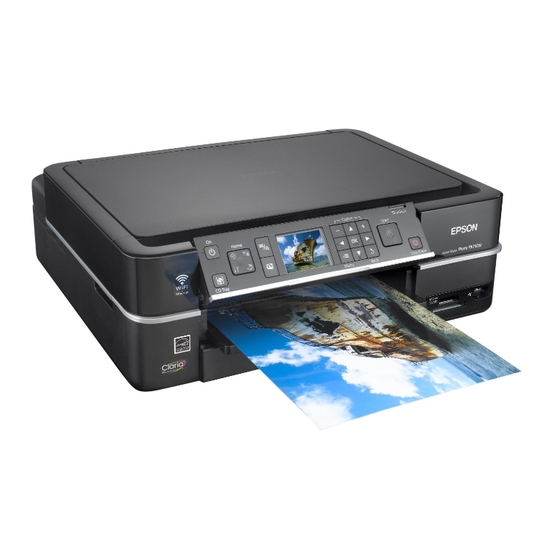
Epson Artisan 800 - All-in-One Printer Panduan Instalasi Jaringan
Confirming Your Wireless Connection
Wait for the printer to connect to your wireless network. Once it's connected, you
see a wireless signal strength indicator in the top right corner of the printer's LCD
screen.
Not connected
Continue with the steps in the next section to install software.
Note:
If the printer doesn't connect to your wireless network after 90 seconds, the WEP key
or WPA passphrase may have been entered incorrectly. See "Connecting to Your
Wireless Network" on page 3 to select your network settings again.
If the connection fails a second time, your router or access point may have MAC
address filtering enabled. See page 25 to print a network status sheet to obtain the
MAC address. Then see your router or access point's documentation to add the
printer's MAC address to the approved devices list.

Installing Software

1. Insert the printer software CD.
2. Windows Vista: If you see the AutoPlay window, click
When you see the User Account Control screen, click
Windows XP: When you see the Software installation screen, continue with
step 3.
Mac OS X: Double-click the
12
Installing Software
Connected
icon.
Run Epsetup.exe
.
Continue
.