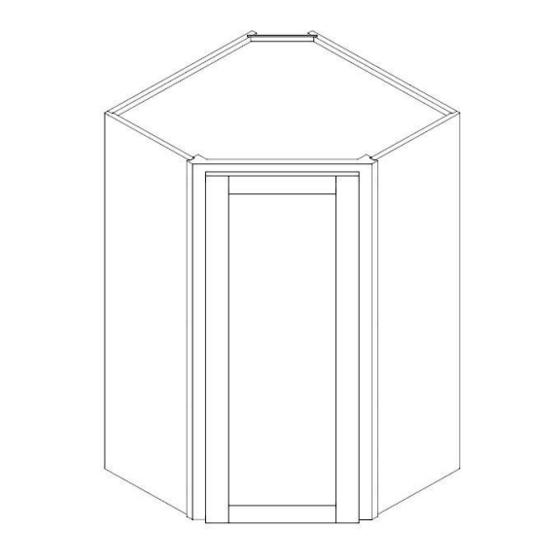
CABINETS TO GO Findley & Myers WD2442 Petunjuk Perakitan - Halaman 2
Jelajahi secara online atau unduh pdf Petunjuk Perakitan untuk Perabotan Dalam Ruangan CABINETS TO GO Findley & Myers WD2442. CABINETS TO GO Findley & Myers WD2442 4 halaman. Wall diagonal cabinets
Juga untuk CABINETS TO GO Findley & Myers WD2442: Manual Petunjuk Perakitan (7 halaman)

► General Instructions:
Thank you for purchasing a Cabinets To Go product. You are now the proud owner of a high quality product designed
to face the test of daily use and guaranteeing your enjoyment for many years to come.
Carefully read the instructions before starting the installation.
During assembly, please follow all generally accepted safety procedures.
Failure to adhere to the following instructions will invalidate the warranty and Cabinets To Go will decline any responsibility for any
damages caused. Any installation which does not correspond to the instructions may result in defects, malfunctioning parts, significant damage and/
or injury.
Before the assembly begins, check that all appropriate and required plumbing and electrical connections exist.
Before drilling, make absolutely sure that there are no pipes (gas, water,electricity, heating, etc.) at the drilling location. Cabinets To Go will not
be held responsible for failure to follow these instructions.
PRIOR TO ASSEMBLY, PLEASE MAKE SURE YOU HAVE ONE FACE FRAME BOX AND ONE CARCASS BOX, WHICH HAVE ALL THE
PARTS IN THE QUANTITIES MENTIONED BELOW. IF YOU ARE MISSING ANY PARTS, PLEASE STOP AND CONTACT CUSTOMER CARE
IMMEDIATELY AT 1-800-CABINET.
Items Quantity
►
Item
Description
A
Face Frame with Door
B1 & B2
Front Side Panels (Right & Left)
C1 & C2
Rear Side Panels (Right & Left)
D
Top & Bottom Panels
E
Back Panel
F
Shelves
G
Hardware box
Corner Bracket 135 degree 4pcs, Corner Bracket 90 degree 6pcs, shelf clips 12pcs, 1" screws for back panel 4pcs
round bumpers 2pcs, 1/2" flat head screws 20pcs, drywall anchors 8pcs, 2" flat head screws 8pcs
► Required tools:
Tools Required: Phillips Screwdriver
Optional Tools: Electric Drill
► Hardware Box:
a
b
c
d
2
20
t
Qty
Q ty
4
Q
y
Qty
The materials listing above are for the largest unit in this instruction set. Smaller units may require less hardware and materials;
therefore, your item may contain a smaller number of each.
Instructions:
►
1.
Place the face frame (A) face down on a flat soft working surface to ensure that the face is not
scratched or damaged (Figure 1).
Optional Tools: Rubber Mallet
e
f
g
8
t
8
Q
y
Q
t
y
4
Qty
h
6
12
Qty
Figure 1
Page 2
Qty
1
2
2
2
1
3
1
E
D
A
F
A
F
F
D
