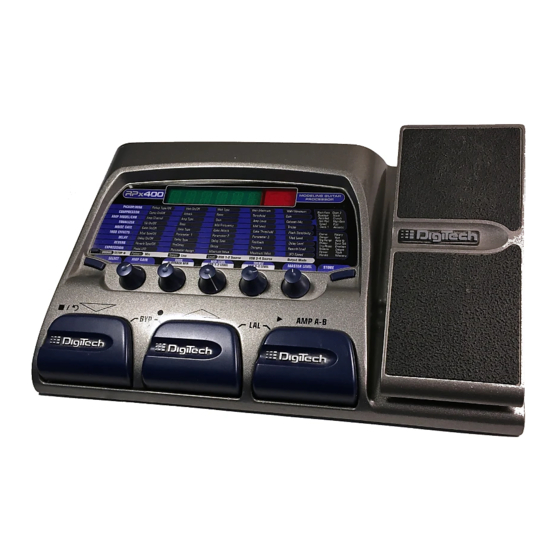
DigiTech RPX400 Panduan Instalasi Perangkat Lunak - Halaman 9
Jelajahi secara online atau unduh pdf Panduan Instalasi Perangkat Lunak untuk Perangkat Keras Komputer DigiTech RPX400. DigiTech RPX400 12 halaman. Usb drivers and software installation guide
Juga untuk DigiTech RPX400: Manual (6 halaman), Panduan Pemecahan Masalah (6 halaman)

15. Click Finish and you will see:
16. Click No. Repeat steps 14 and 15 once more. Then you will see:
17. This time click Yes and your computer will restart. The RPx400 USB driver
installation is now complete.
C. Setup Windows Audio and MIDI
When we installed the DigiTech USB Audio and MIDI drivers,Windows may have
automatically selected them as your default audio and MIDI outputs. This means that
your Windows sounds will be sent to the RPx400. We need to check if these have
been changed and return the settings to what they were before.
Windows XP Users
1. Select Start>Control Panel>Sound and Audio Devices.
2. Select the Audio tab.
3. Under Sound playback>Default device, open the pull-down menu and make
sure your computer's sound card is selected.
4. Under Sound recording>Default device, open the pull-down menu and make
sure your computer's sound card is selected.
5. Under MIDI music playback>Default device, open the pull-down menu and
make sure your MIDI device is selected.
Windows 2000 Users
1. Select Start>Settings>Control Panel.
2. Select Sounds and Multimedia.
3. Select the Audio tab.
4. Under Sound Playback>Preferred device, open the pull-down menu and make
sure your sound car is selected.
5. Under Sound Recording>Preferred device, open the pull-down menu and make
sure your sound car is selected.
6. Under MIDI Music Playback>Preferred device, open the pull-down menu and
make sure your MIDI device is selected.
