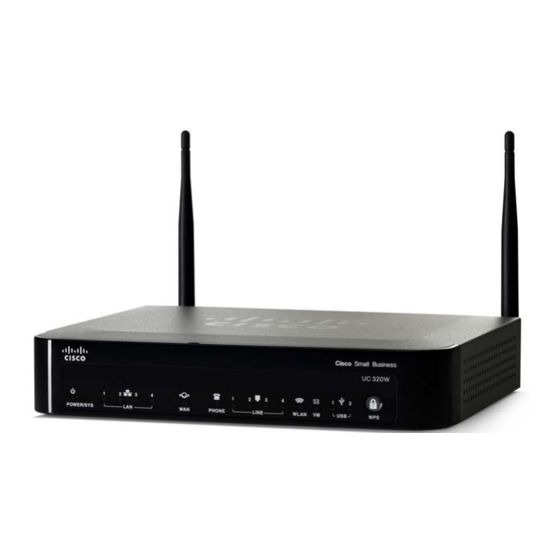
Cisco UNIFIED COMMUNICATIONS UC320W Panduan Memulai Cepat - Halaman 4
Jelajahi secara online atau unduh pdf Panduan Memulai Cepat untuk Sistem Konferensi Cisco UNIFIED COMMUNICATIONS UC320W. Cisco UNIFIED COMMUNICATIONS UC320W 6 halaman.
Juga untuk Cisco UNIFIED COMMUNICATIONS UC320W: Panduan Memulai Cepat (4 halaman), Informasi Lokasi Pra-Pemasangan (29 halaman)

Connect the supplied power cord to the POWER port and to a
S
3
TEP
power outlet.
When the device is fully booted, the POWER/SYS light is steady
green.
Connect your PC to a LAN port on the Cisco UC320W. Do not
S
4
TEP
connect any devices to the LAN ports at this point. Your PC
will receive an IP address in the 192. 1 68. 1 0.x range.
4
UC 320W
N
:
OTE
•
You may need to adjust your PC's connecting settings to
receive an IP address dynamically.
•
For best results, set the screen resolution to 1024x768 or
higher.
Start a web browser. In the Address bar, enter the IP address of the
S
5
TEP
Cisco UC320W (default 192.168.10.1).
To log in, enter the username cisco and the password cisco.
S
6
TEP
Both the username and the password are case sensitive.
When prompted, enter a new username and password. Neither
S
7
TEP
cisco nor admin is valid.
Follow the instructions in the configuration utility to connect the
S
8
TEP
equipment and configure the system.
Notes:
•
If you are installing the Cisco UC320W in a network with
another DHCP server, be sure to complete the Network
Topology step in the Getting Started menu.
•
For best results, enable access to Cloud Services and accept
all available firmware updates.
4
VoIPon www.voipon.co.uk [email protected] Tel: +44 (0)1245 808195 Fax: +44 (0)1245 808299
3
2
1
WAN
PHONE
LINE (FXO)
(10/100/1000)
(FXS)
4
3
2
1
LAN (10/100/1000)
192.168.10.x
Cisco UC320W Quick Start Guide
Power
LINE
LINE
OUT
IN
12VDC
