Cisco 2100 Series Panduan Memulai Cepat - Halaman 10
Jelajahi secara online atau unduh pdf Panduan Memulai Cepat untuk Perangkat Keras Jaringan Cisco 2100 Series. Cisco 2100 Series 49 halaman. Cisco 8500 series
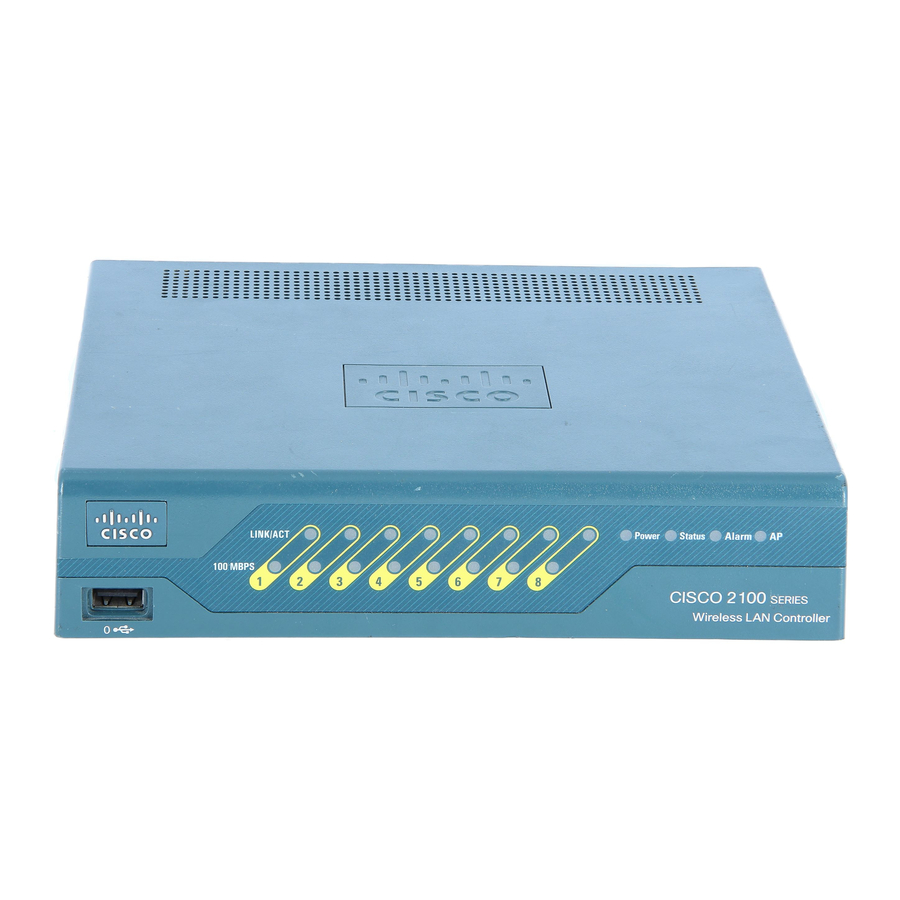
wireless lan controller
Juga untuk Cisco 2100 Series: Panduan Konfigurasi (40 halaman), Panduan Konfigurasi (50 halaman), Panduan Memulai Cepat (12 halaman)
Configure the terminal emulation program for the following parameters:
Step 3
• 9600 baud
• 8 data bits
• No flow control
• 1 stop bit
• No parity
Running the Bootup Script and Power-On Self Test
When you plug the controller into an AC power source, the bootup script initializes the system, verifies
the hardware configuration, loads its microcode into memory, verifies its operating system software
load, and initializes itself with its stored configurations. Before performing this test, you should have
connected your PC to the controller's CLI console as described in the "Connecting the Controller's
Console Port" section on page 9. Follow these steps to run the bootup script and conduct the power-on
self test (POST).
Plug the external power supply into the Power jack on the back of the controller.
Step 1
Step 2
Plug a country-specific power cord into the external power supply, then plug the other end
into a grounded 100–240 VAC, 50/60 Hz electrical outlet.
If you wish to run a previous release of the controller code, press Esc when the boot
Note
loader prompt appears. The Bootloader Options menu appears.
When the controller receives power, the green front panel Power LED lights. If the
Note
Power LED does not light, make sure that the electrical outlet is supplying power and
that the power connections to the controller are correct.
10