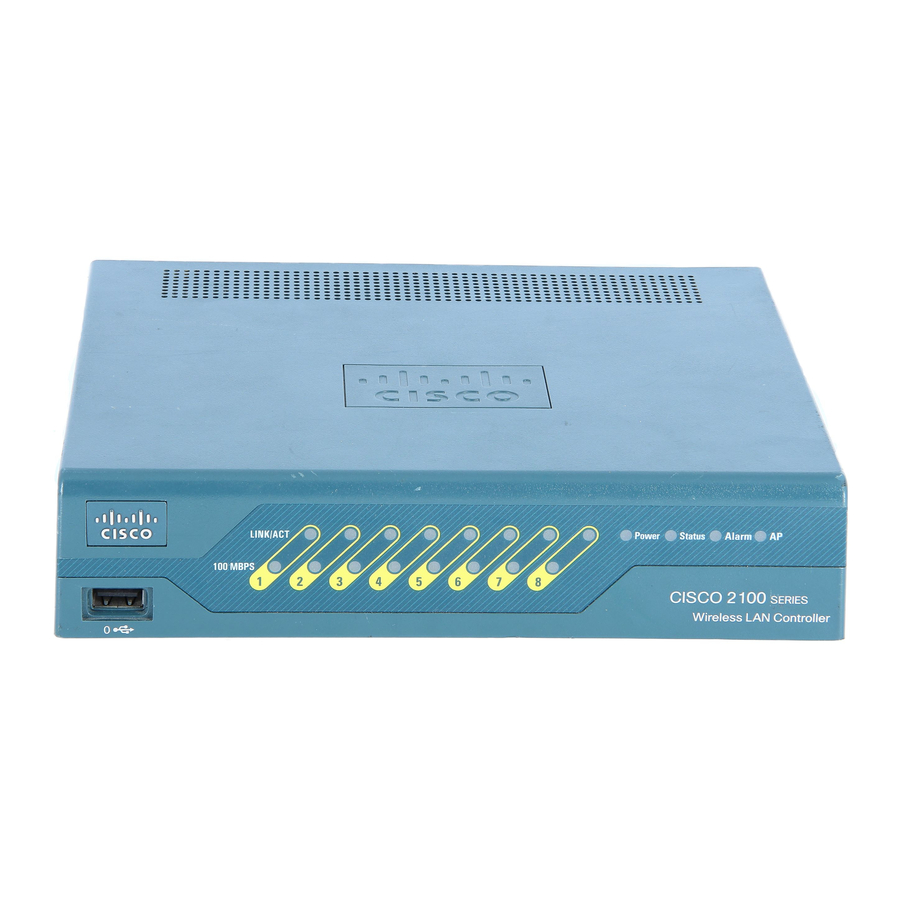
Cisco 5500 Series Panduan Instalasi - Halaman 20
Jelajahi secara online atau unduh pdf Panduan Instalasi untuk Perangkat Keras Jaringan Cisco 5500 Series. Cisco 5500 Series 34 halaman. Cisco 8500 series
wireless lan controller
Juga untuk Cisco 5500 Series: Panduan Konfigurasi (40 halaman), Manual (19 halaman), Panduan Konfigurasi (50 halaman)

Unpacking and Installing the Controller
Grounding the Chassis
If you mid-mounted the chassis in a 2-post rack (see
Note
pad or the provided grounding lug. You will need to ground the chassis in a different location on the
chassis (such as the rear bracket mount holes using an M3 screw) using your own grounding lug.
A grounding pad with two threaded M4 holes is provided on each side of the chassis for attaching a
grounding lug.
To maintain the chassis height of one rack unit (RU), install the grounding lug on the right side of the
Note
chassis in the wire-up position, or on the left side of the chassis in the wire-down position.
Figure 17
Figure 17
RP SP
When installing or replacing the unit, the ground connection must always be made first and
Warning
disconnected last. Statement 1046
We recommend grounding the chassis, even if the rack is already grounded.
Caution
All power supplies must be grounded. The receptacles of the AC power cables used to provide power to
Caution
the chassis must be the grounding type, and the grounding conductors should connect to protective earth
ground at the service equipment.
Cisco 5500 Series Wireless Controller Installation Guide
20
shows the system ground location on the right side of the controller.
Location of Chassis Ground on the Controller (Right Side)
Cis co 550
0 Se rie s
Wi rel ess
Co ntr olle
r
USB 0 USB
CONS OLE
1
EN
EN
1
2
3
4
Mo del 550
5
6
7
8
8
PS1 PS2
SYS ACT
Figure
15), you cannot use the chassis grounding
78-18998-01
