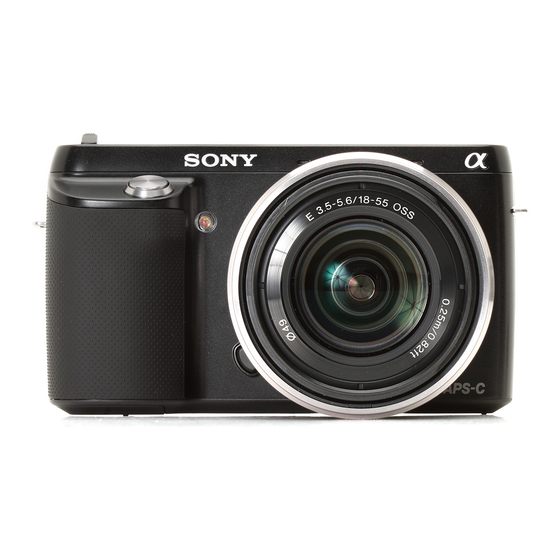
Sony NEX-F3D Panduan Servis - Halaman 4
Jelajahi secara online atau unduh pdf Panduan Servis untuk Kamera Digital Sony NEX-F3D. Sony NEX-F3D 19 halaman. Interchangeable lens digital camera
Juga untuk Sony NEX-F3D: Panduan Servis (42 halaman)

1-1. PRECAUTION ON REPLACING THE SY-307 BOARD
Destination Data
When you replace to the repairing board, the written destination data of repairing board also might be changed to original setting.
USB Serial No.
The set is shipped with a unique ID (USB Serial No.) written in it.
This ID has not been written in a new board for service, and therefore it must be entered after the board replacement.
1-2. ADDITION OF DESTINATION DATA FILE
If the Destination Data file included in the Adjust manual is old, "DESTINATION DATA WRITE" cannot be executed in some cases.
In that case, download a new Destination Data file from the TISS homepage according to the following procedure.
Note 1: To perform Destination Data Write for this model, the Adjust manual of the DSC-WX50 series must have been installed.
Install the Adjust manual of the DSC-WX50 series in advance.
Note 2: The actual image may differ from the image shown above.
1) If the Destination Data file in the Adjust manual in use is old, the window shown in Fig. 1 is displayed.
Click the [OK] button.
Fig. 1
2) The Destination Data Write window opens.
Check the version of the Destination Data file retained in the Adjust manual.
NEX-F3D/F3K/F3Y_L2
Destination Ver. window
1. SERVICE NOTE
– ENGLISH –
3) Search the model whose new Destination Data file you want to get on the TISS homepage.
When the Destination Data file has been updated, a file with a name "Destination File For 'model name'.zip" is registered.
(Example) Destination File For DSC-WX50.zip
Furthermore, the version supported by the Destination Data file is shown in the Remarks column.
Note : If the Destination Data file has not been updated, contact the Service Headquarters.
4) Download the Destination Data file of the relevant model and unzip the file.
5) Execute "DESTINATION DATA WRITE" in the Adjust tab of the Adjust manual.
Click the [START] button.
1-1
