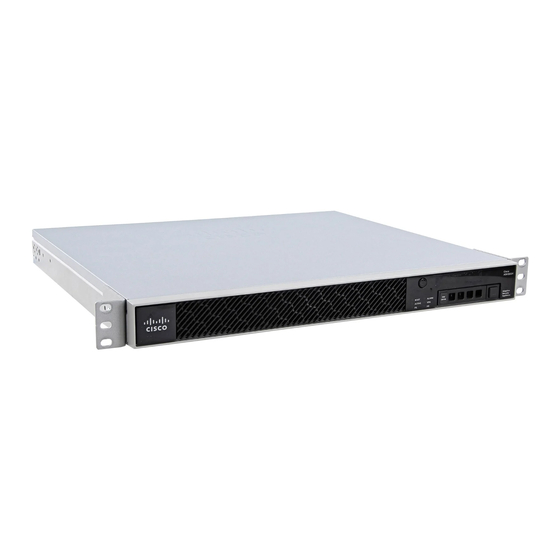
Cisco ASA 5506-X Series Quick Start Guide
Before You Begin
This procedure requires you to use the default configuration.
Procedure
1.
On the computer connected to the ASA inside network, launch a web browser.
2.
In the Address field, enter http://192.168.10.2. You are prompted for the username and password.
Note:
If you are unable to reach the access point, and the ASA has the default configuration and other
networking issues are not found, then you may want to restore the access point default configuration. You must
access the ASA CLI (connect to the ASA console port, or configure Telnet or SSH access using ASDM). From
the ASA CLI, enter hw-module module wlan recover configuration.
3.
Enter the username Cisco and the password Cisco. The access point GUI appears.
4.
On the left, click Easy Setup > Network Configuration.
5.
In the Radio Configuration area, for each of the Radio 2.4GHz and Radio 5GHz sections, set the following
parameters and click Apply for each section:
—
SSID
—
Broadcast SSID in Beacon
—
Universal Admin Mode: Disable
—
Security (of your choosing)
6.
On the left, click Summary, and then on the main page under Network Interfaces, click the hotlink for the 2.4
GHz radio.
7.
Click the Settings tab.
8.
For the Enable Radio setting, click the Enable radio button, and then click Apply at the bottom of the page.
9.
Repeat for the 5 GHz radio.
10.
For more information, see the following manuals:
—
For details about using the wireless LAN controller, see the
documentation.
—
For details about the wireless access point hardware and software, see the
documentation.
6. Launch ASDM
See the
ASDM release notes
This procedure assumes you want to use ASDM to manage the ASA Firepower Module. If you want to use the
FireSIGHT System, then you need to connect to the module CLI and run the setup script; see the
quick start
guide.
Procedure
1.
On the computer connected to the ASA, launch a web browser.
2.
In the Address field, enter the following URL: https://192.168.1.1/admin. The Cisco ASDM web page
appears.
If you connected your management computer to the ASA as a wireless client, you can access ASDM at
https://192.168.10.1/admin.
on Cisco.com for the requirements to run ASDM.
Cisco Wireless LAN Controller Software
5
6. Launch ASDM
Cisco Aironet 700 Series
ASA Firepower

