Cisco Firepower Threat Defense for the ASA 5506-X Series Using Firepower Device Manager Quick Start Guide
4. Deploy the Firepower Threat Defense in Your Network
Note:
The default configuration to use Firepower Device Manager to configure a Firepower Threat Defense device,
which includes the inside address and management address, changed in Version 6.2. See
the default topology for Version 6.2, and
About the Default Configuration (Version 6.2)
Except for the first data interface, and the Wi-Fi interface on an ASA 5506W-X, all other data interfaces on these
device models are structured into the "inside" bridge group and enabled. There is a DHCP server on the inside
bridge group. You can plug endpoints or switches into any bridged interface and endpoints get addresses on the
192.168.1.0/24 network.
For complete information about the default configuration and the options you have to configure bridged interfaces,
see the
Cisco Firepower Threat Defense Configuration Guide for Firepower Device
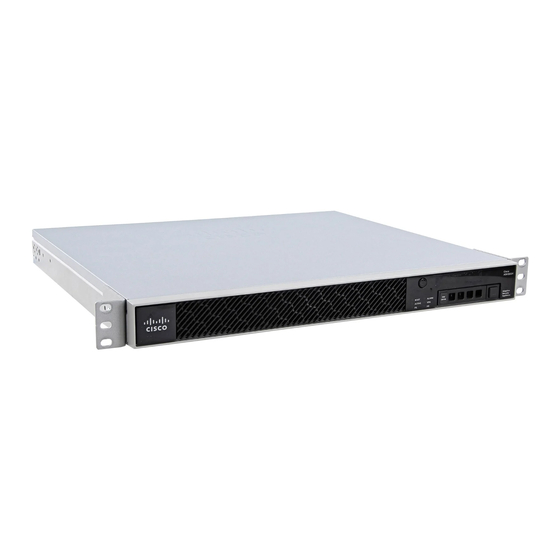
The following figure shows the recommended network deployment for Firepower Threat Defense on the ASA
5506-X series of appliances, including the ASA 5506W-X with the built-in wireless access point.
Figure 3
Suggested Network Deployment - Version 6.2
Management Computer
DHCP from inside:192.168.1.x
The example configuration enables the above network deployment with the following behavior.
inside --> outside traffic flow
outside IP address from DHCP
(ASA 5506W-X) wifi <--> inside, wifi --> outside traffic flow
DHCP for clients on inside and wifi. There is a DHCP server on the inside bridge group. You can plug
endpoints or switches directly into one of the bridged interfaces and get addresses on the 192.168.1.0/24
network. There is a DHCP server on the wifi interface for the access point itself and all its clients.
HTTPS access is enabled on the inside bridge group, so you can open Firepower Device Manager through any
inside bridge group member interface at the default address, 192.168.1.1.
Alternatively, you can connect to Management 1/1 to set up and manage the device using the Firepower
Device Manager. There is a DHCP server on the management interface. You can plug your management
computer directly into this interface and get an address on the 192.168.45.0/24 network.
HTTPS access is enabled on the management interface, so you can open Firepower Device Manager through
the management interface at the default address, 192.168.45.45.
The default gateway for the management IP address is to use the data interfaces to route to the Internet. Thus,
you do not need to wire the Management physical interface to a network.
Figure 4 on page 4
Firepower
Threat Defense
inside bridge group
GigabitEthernet 1/2-1/8
192.168.1.1
Management
Management 1/1
IP Address:
192.168.45.45
3
4. Deploy the Firepower Threat Defense in Your Network
for the default topology for Version 6.1.
Manager.
outside
GigabitEthernet 1/1
AP
wifi
GigabitEthernet 1/9 (internal)
192.168.10.1
Access Point IP address: 192.168.10.2
Figure 3 on page 3
for
Internet

