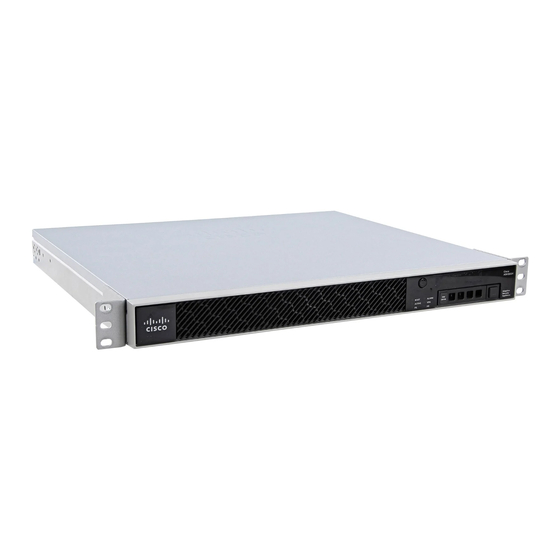
Overview
3
5
7
LEDs
Facing the rear of the ASA 5506-X and ASA 5506W-X chassis, the LEDs are located on the top left edge
(facing the front of the chassis, they are in the back right corner of the top). Facing the rear of the ASA
5506H-X, the LEDs are located on the bottom left of the chassis. The network port LEDs are at the top sides
of each network port. See
The following figure shows the LEDs on the top left edge.
Online Only
Network data ports
Four Gigabit Ethernet RJ-45 (8P8C) network I/O
interfaces. The ports are numbered (from top to
bottom) 1, 2, 3, 4,. Each port includes a pair of
LEDs, one each for connection status and link
status. The ports are named and numbered Gigabit
Ethernet 1/1 through Gigabit Ethernet 1/4. See
Network Ports, on page 9
for additional
information.
Console ports
Two serial ports, a standard RJ-45 (8P8C), and a
mini USB Type B, are provided for management
access via an external system. See
on page 10
for additional information.
Reset button
A small recessed button that if pressed for longer
than three seconds resets the ASA to its default
"as-shipped" state following the next reboot.
Configuration variables are reset to factory
default. However, the flash is not erased and no
files are removed.
Note
You can use the service
sw-reset-button command to disable
the reset button. The default is enabled.
Rear Panel, on page 4
Cisco ASA 5506-X, ASA 5506W-X, and ASA 5506H-X Hardware Installation Guide
4
Management port
A Gigabit Ethernet interface restricted to network
management access only. Connect with an RJ-45
cable.
6
USB port
A standard USB Type A port is provided that
allows the attachment of an external device, such
Console Ports,
as mass storage. See
Storage, on page 11
for more information.
LEDs
Internal and External Flash
for additional information.
7

