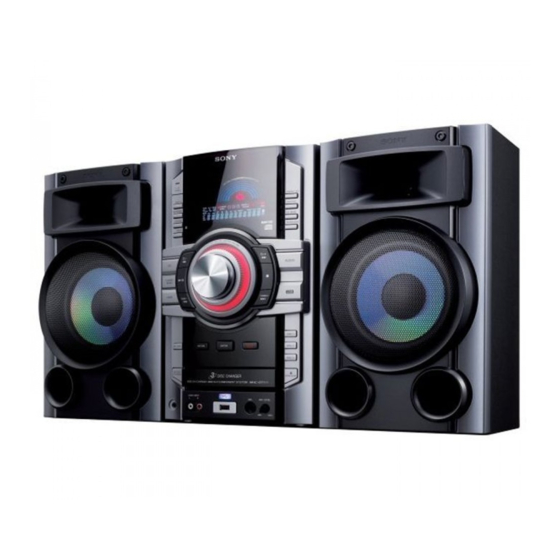
Sony LBTZT4 - Mini Hi-Fi Shelf System Panduan Petunjuk Pengoperasian - Halaman 17
Jelajahi secara online atau unduh pdf Panduan Petunjuk Pengoperasian untuk Sistem stereo Sony LBTZT4 - Mini Hi-Fi Shelf System. Sony LBTZT4 - Mini Hi-Fi Shelf System 48 halaman. Sony mini hi-fi component system operating instructions

To change the play mode
Press PLAY MODE repeatedly in stop
mode. You can select normal play ("ALL
DISCS" for all discs or "1 DISC" for a
disc or "
*" for all MP3 files in the
folder on the disc), shuffle play ("ALL
DISCS SHUF" or "1 DISC SHUF" or
"
SHUF*"), or program play
("PGM").
* When playing an AUDIO CD,
Play performs the same operation as 1 DISC
(SHUF) Play and
operation as 1 DISC Play.
Notes on Repeat Play
• "REP" indicates all tracks or files on a disc are
played repeatedly up to five times.
• "REP1" indicates that a single track or file is
repeated until you stop it.
• You cannot select "REP" and "ALL DISCS
SHUF" at the same time.
Notes on playing MP3 discs
• Do not save other types of files or unnecessary
folders on an MP3 disc.
• Folders that have no MP3 files are skipped.
• The system can only play MP3 files that have
a file extension of ".mp3".
• If there are files on the disc that have the
".mp3" file extension, but that are not MP3
files, the unit may produce noise or may
malfunction.
• The system can recognize up to
– 256 folders (including root folder).
– 511 MP3 files.
– 512 MP3 files and folders on a single disc.
– 8 folder levels (tree structure of files).
• Compatibility with all MP3 encoding/writing
software, recording device, and recording
media cannot be guaranteed. Incompatible
MP3 discs may produce noise or interrupted
audio or may not play at all.
Notes on playing multisession discs
When you play back Multi Session discs with
different formats for each session, the format of
the first session is recognized as the disc type.
Tracks or files in the second and subsequent
sessions are played back if they are the same
formats as the first session.
(SHUF)
performs the same
Listening to the radio
1
Select "FM" or "AM".
Press TUNER/BAND (RM-AMU006)
or press FUNCTION +/–
(RM-AMU008) (or press TUNER/
BAND on the unit) repeatedly.
2
Select the tuning mode.
Press TUNING MODE repeatedly
until "AUTO" lights up in the display.
3
Tune in the station you want.
Press +/– (or TUNING +/– on the
unit). Scanning stops automatically
when a station is tuned in, and then
"TUNED" and "ST" (for stereo
programs only) light up in the display.
GROOVE
GROOVE
1
4
Adjust the volume.
Press VOLUME +/– (or turn
MASTER VOLUME on the unit).
To stop automatic scanning
Press x.
To tune in a station with a weak
signal
If the scanning does not stop, press
TUNING MODE repeatedly until
"AUTO" and "PRESET" light off in the
display, and then press +/– (or TUNING
+/– on the unit) repeatedly to tune in the
station you want.
To reduce static noise on a weak
FM stereo station
Press FM MODE repeatedly until
"MONO" lights up in the display to turn
off stereo reception.
REC
2
3
ST
ST
AUTO TUNED
AUTO
TUNED
MHz
MHz
17
GB
