Cisco ASA 5516-X Panduan Pemasangan Perangkat Keras - Halaman 28

Jelajahi secara online atau unduh pdf Panduan Pemasangan Perangkat Keras untuk Perangkat Keras Jaringan Cisco ASA 5516-X. Cisco ASA 5516-X 32 halaman. Threat defense reimage guide
Juga untuk Cisco ASA 5516-X: Panduan Memulai Cepat (8 halaman), Panduan Penyiapan yang Mudah (11 halaman), Panduan Memulai Cepat (9 halaman), Manual Perangkat Lunak (37 halaman), Pasang dan Hubungkan (6 halaman), Manual (14 halaman)
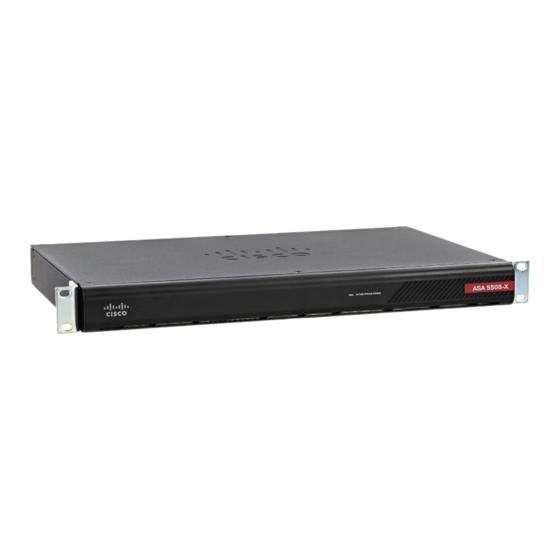
Cisco ASA 5516-X Panduan Pemasangan Perangkat Keras

Connect to a Console Terminal or PC

Step 2
Connect the power cord to the ASA, and plug the other end to your power source.
Step 3
Press the power switch to turn the appliance on.
When the Power LED is solid green, the ASA is completely powered on.
Step 4
Check the Status LED on the ASA chassis.
When it is solid green, the ASA has passed power-on diagnostics.
Step 5
See the
Cisco ASA 5508-X and ASA 5516-X Quick Start Guide
Note
Your ASA ships with either ASA or Firepower Threat Defense software preinstalled. To reimage your device,
see
Reimage the Cisco ASA or Firepower Threat Defense
Connect to a Console Terminal or PC
The serial ports provide administrative access to the ASA either with a console terminal or a PC. To configure
the ASA through the CLI, you must establish a connection between the ASA console port and either a terminal
or a PC.
This section describes how to connect to a console terminal or a PC, and contains the following topics:

Connect to the Console Port with Microsoft Windows

You must install a USB device driver the first time a Microsoft Windows-based PC is connected to the USB
serial port on the ASA, otherwise the connection fails.
To uninstall the driver, use the Add Remove Programs utility or the Setup-exe program.
Cisco ASA 5508-X and ASA 5516-X Hardware Installation Guide
24
to continue setting up your ASA.
Device.
Mount and Connect
Online Only